![Learnyst Logo-25-1.png]](https://support.learnyst.com/hs-fs/hubfs/Learnyst%20Logo-25-1.png?height=40&name=Learnyst%20Logo-25-1.png)
Steps to Create a Community Post
Step 1: Open the Socials Dashboard
Go to the Admin Dashboard > View As Learner > Socials Dashboard and select the required Community Space.
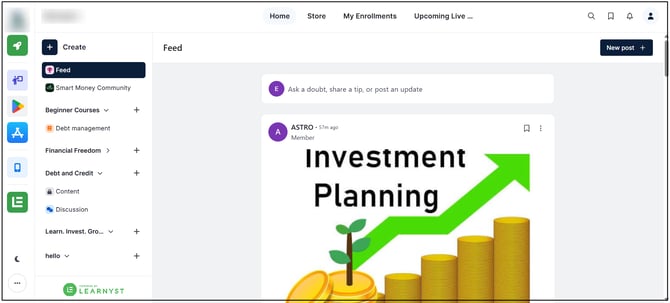
Step 2: Click Create Post
Click the Create Post icon in the top-right corner of the Community Space.
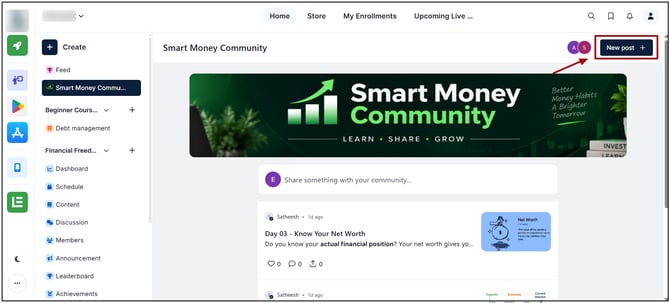
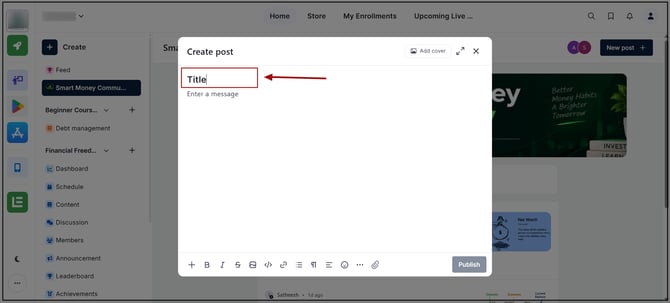
Step 3: Add the Post Title
Enter the required Title for the community post.
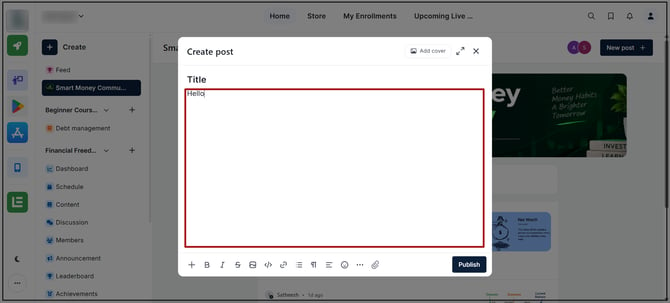
Step 4: Add the Post Content
Enter the required content in the Description/Body section. Images and other supported forms of content can also be added.
Step 5: Publish the Post
Complete the post content and publish it to make the post available in the Community Space.
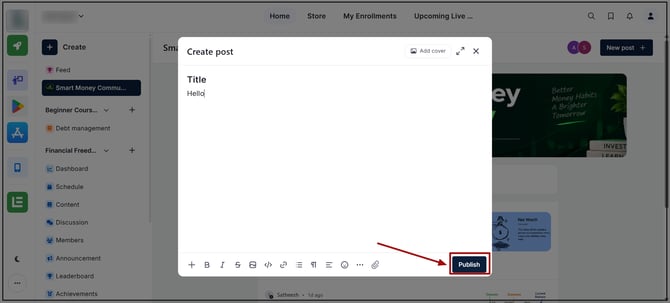
Once published, the post becomes available in the selected Community Space according to the Space's visibility settings. The post is displayed using the configured post view.