![Learnyst Logo-25-1.png]](https://support.learnyst.com/hs-fs/hubfs/Learnyst%20Logo-25-1.png?height=40&name=Learnyst%20Logo-25-1.png)
Create a Community Space
Step 1: Open the Socials Dashboard
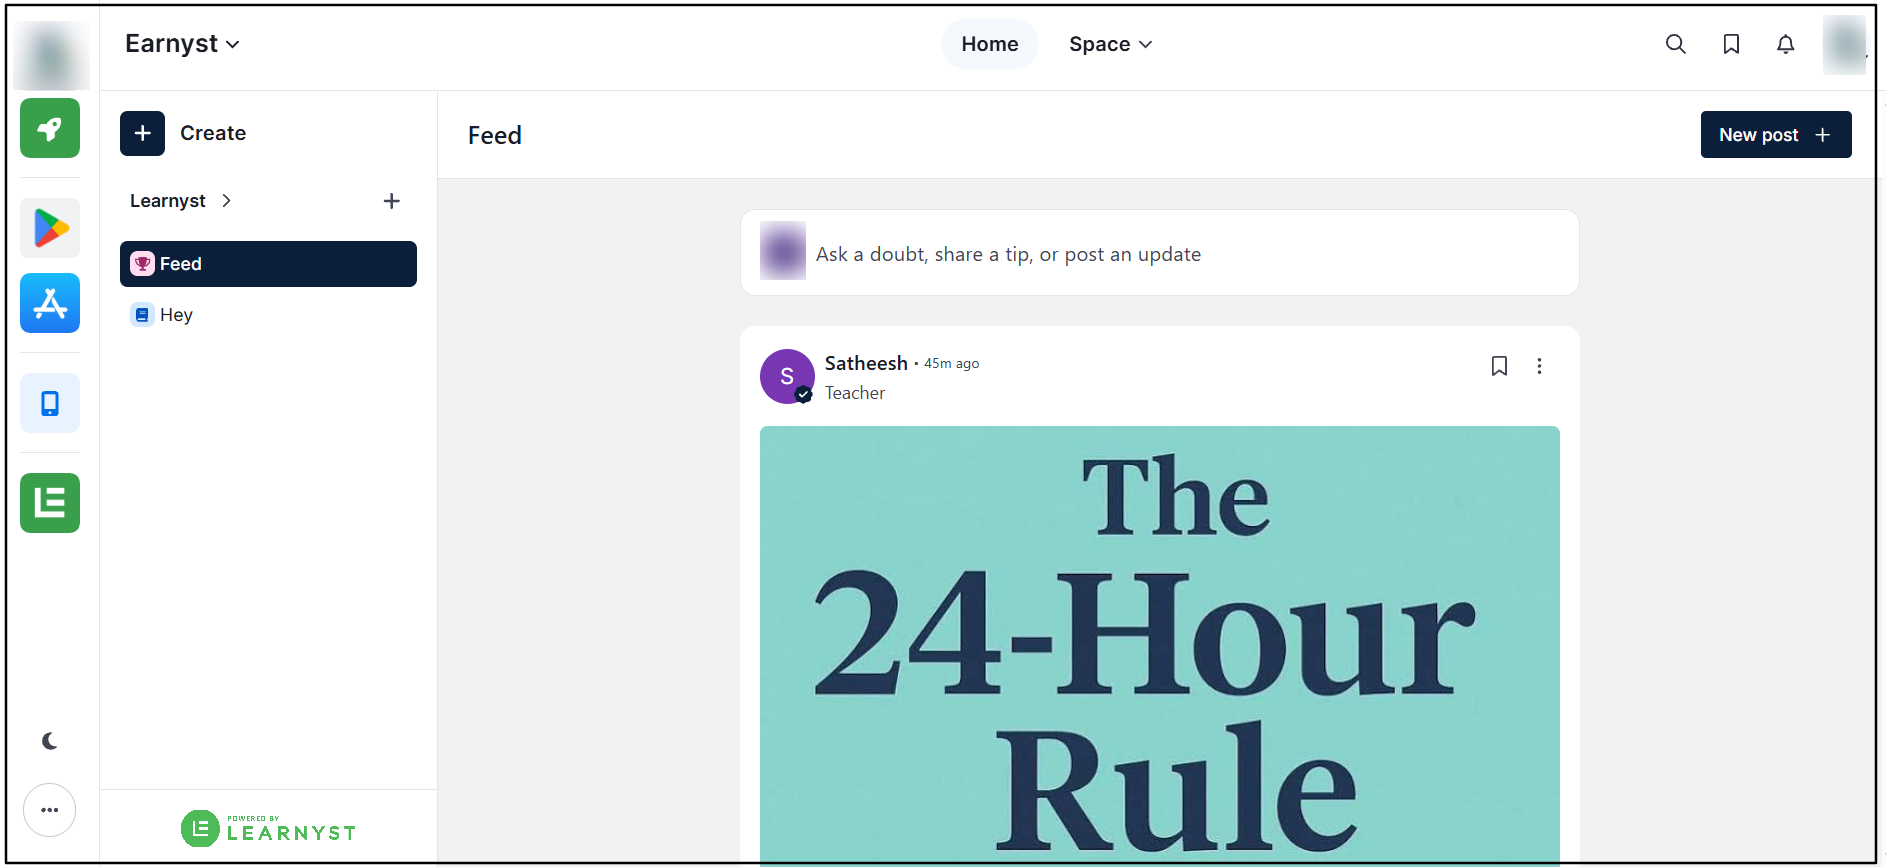
Go to the Socials Dashboard to create and manage community Spaces.
Step 2: Create a New Space
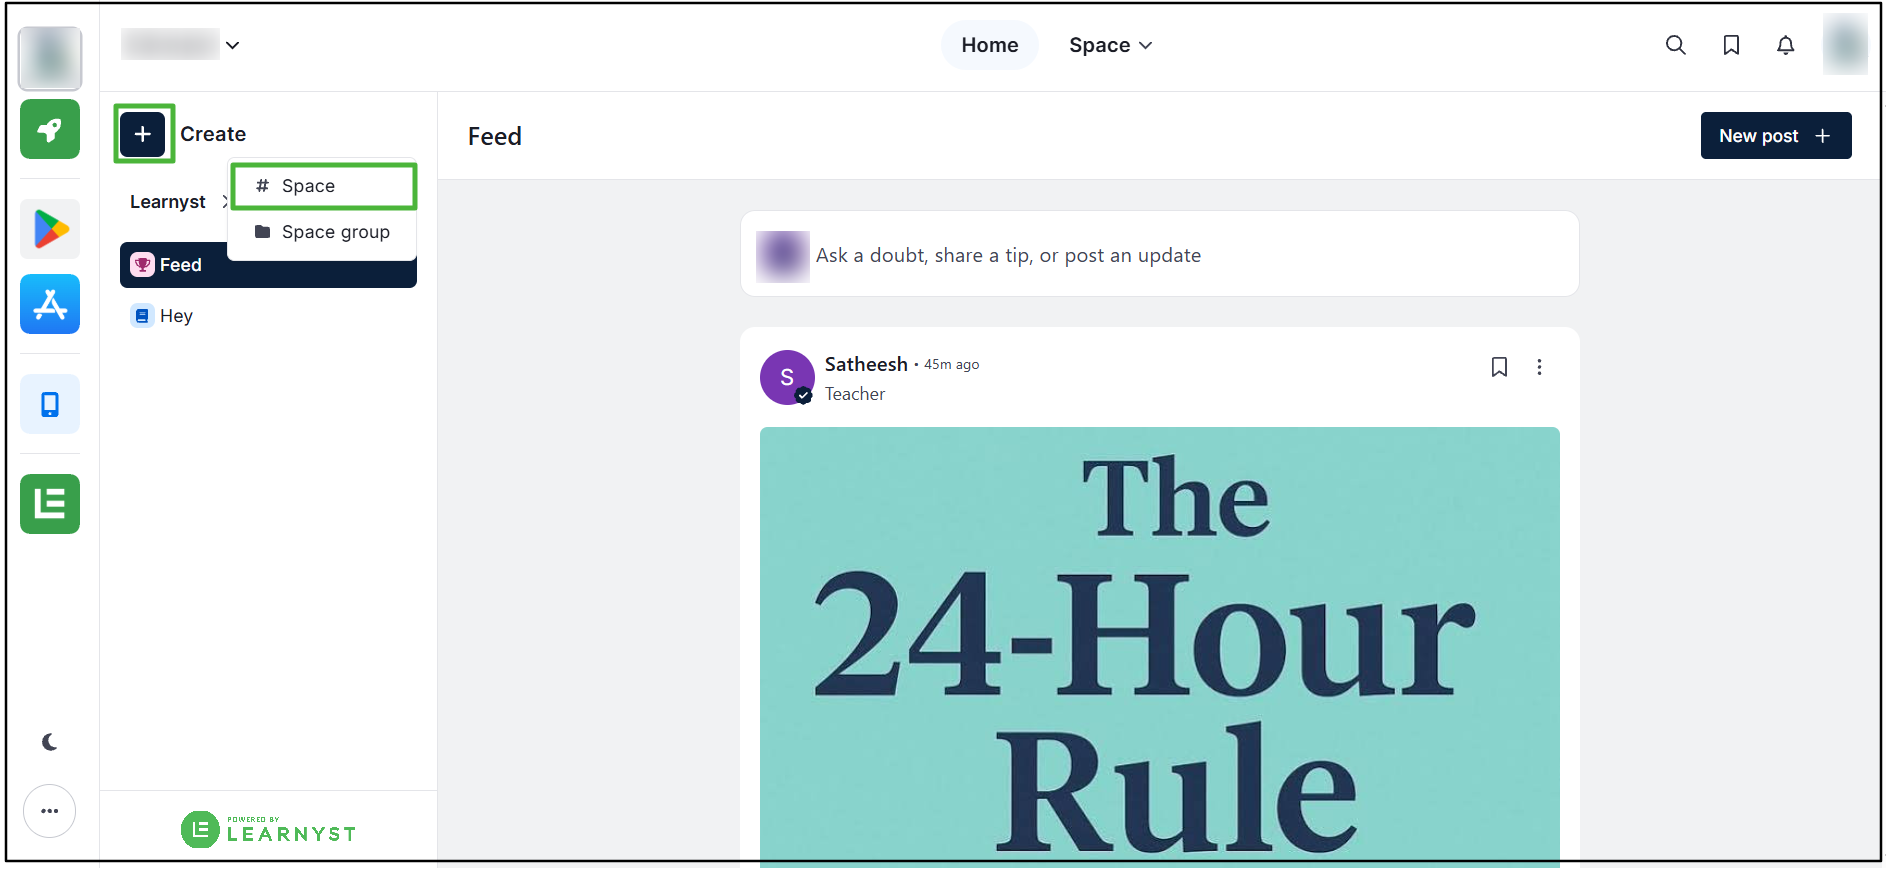
Click the Create button in the top-left corner and select Space.
Step 3: Select Community
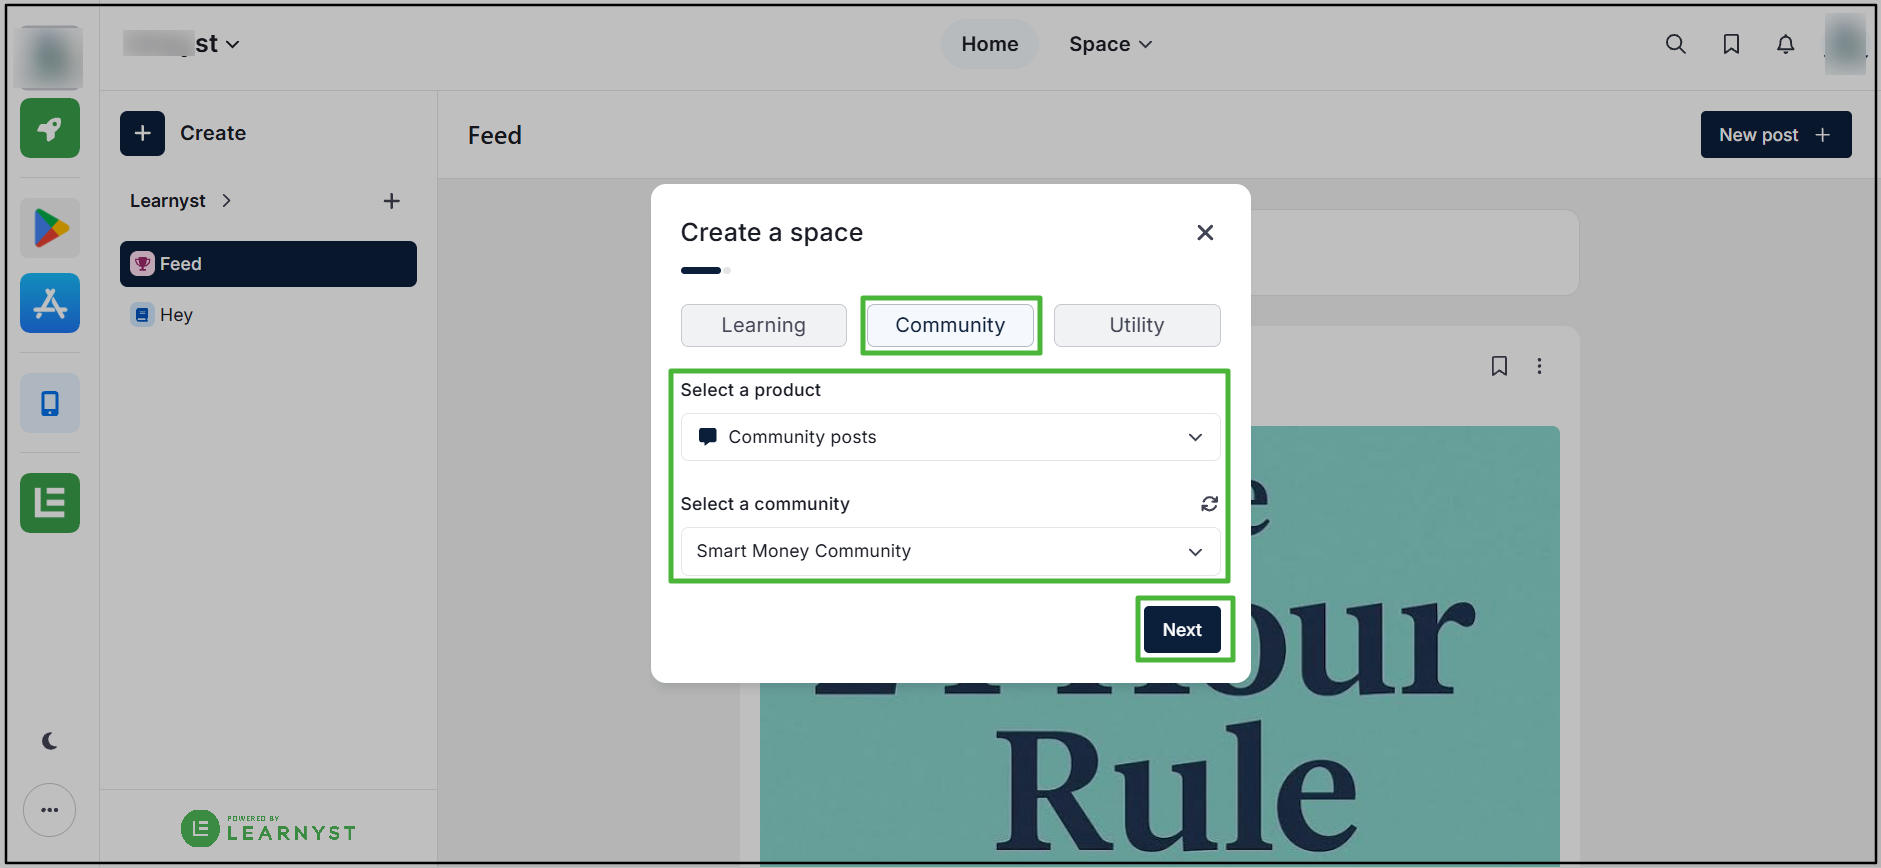
Select Community as the Space type.
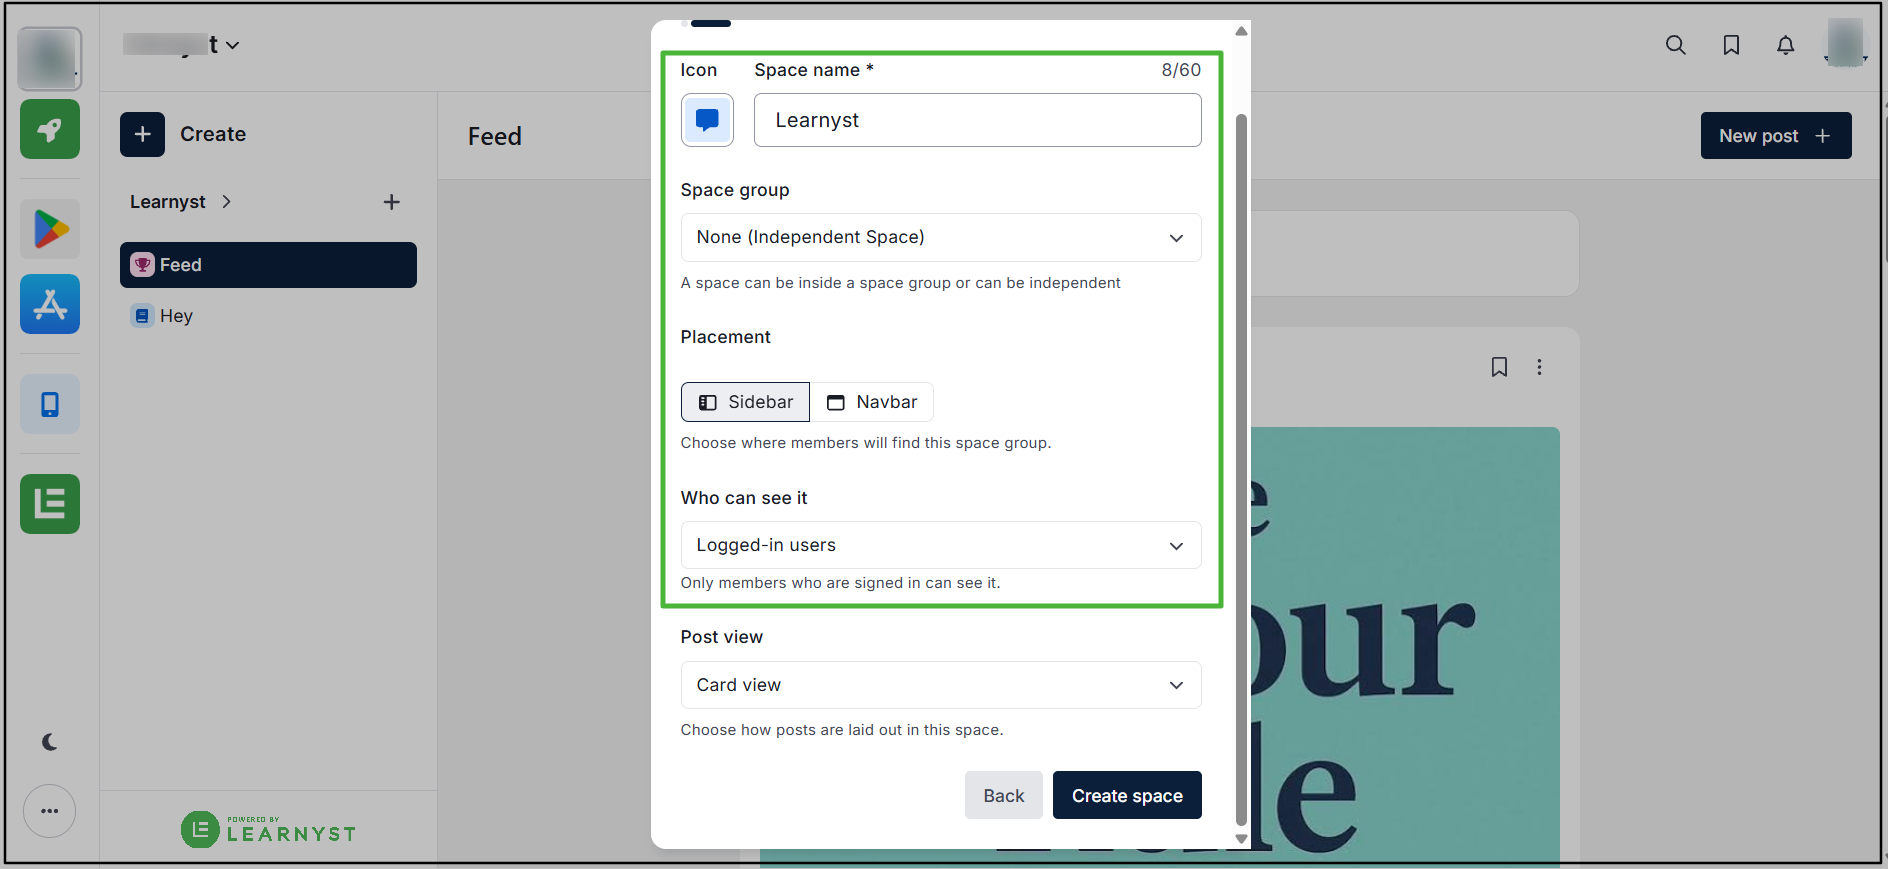
Step 4: Configure the Community Space
Configure the required Space details, including the Icon, Name, Space Group, and Visibility settings.
Step 5: Select the Post View
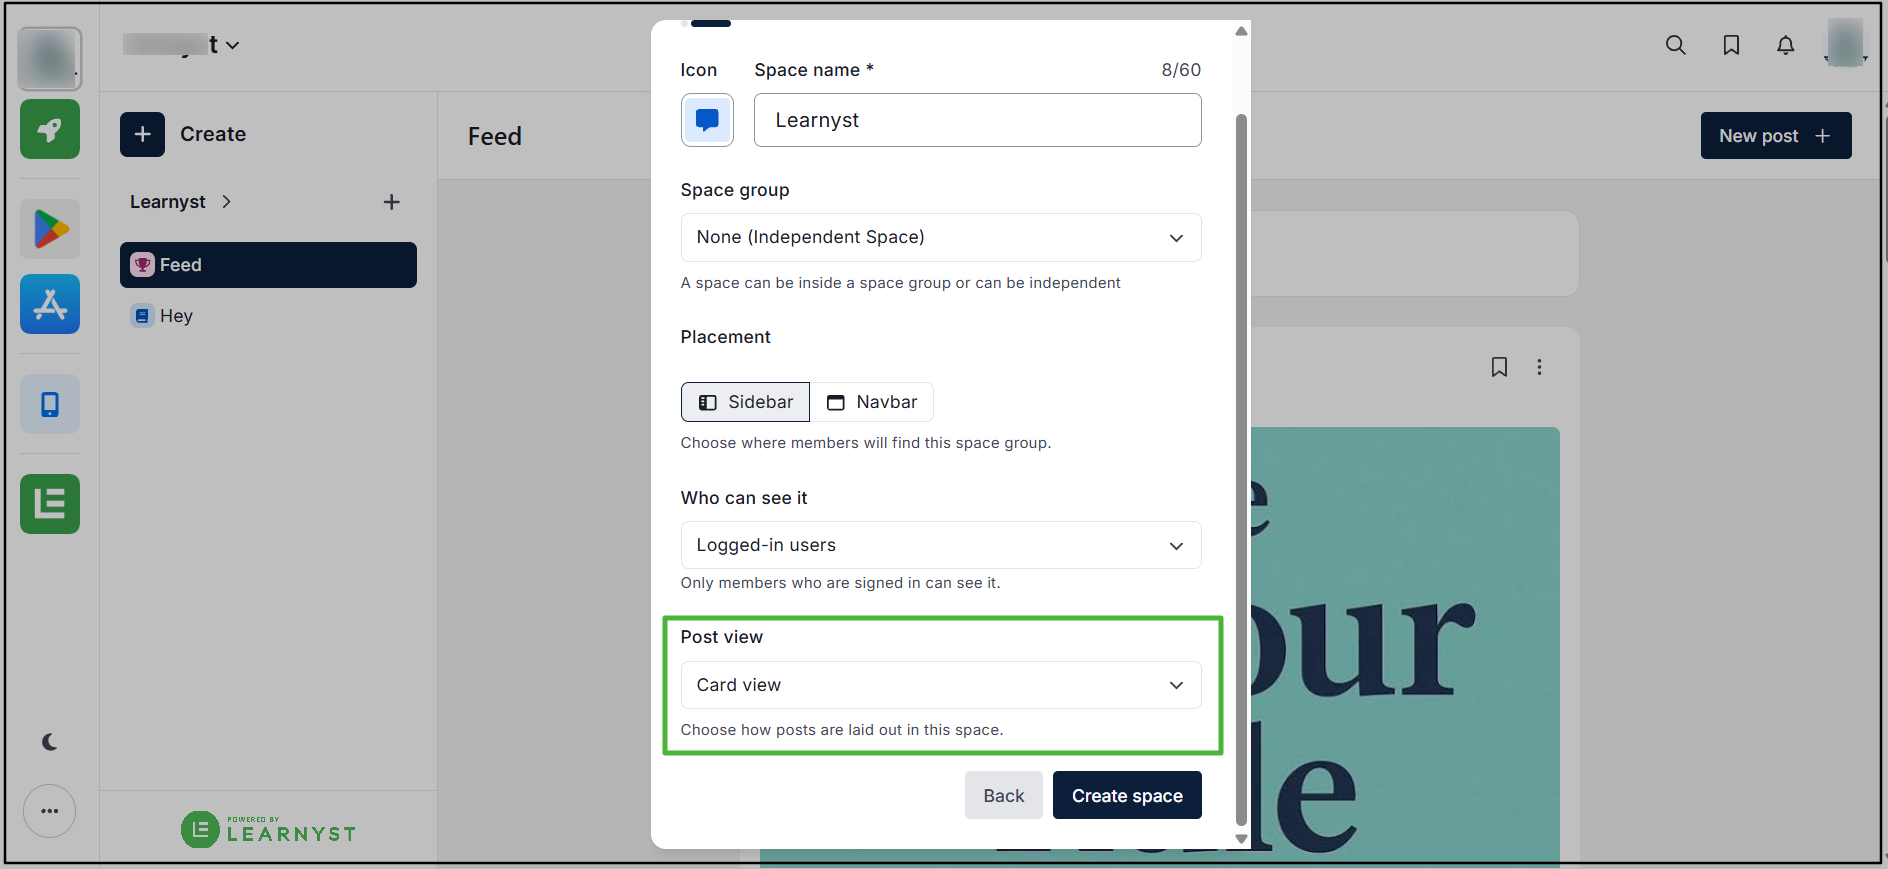
Select the preferred Post View for the community. The available options are:
- Card View
- List View
- Grid View
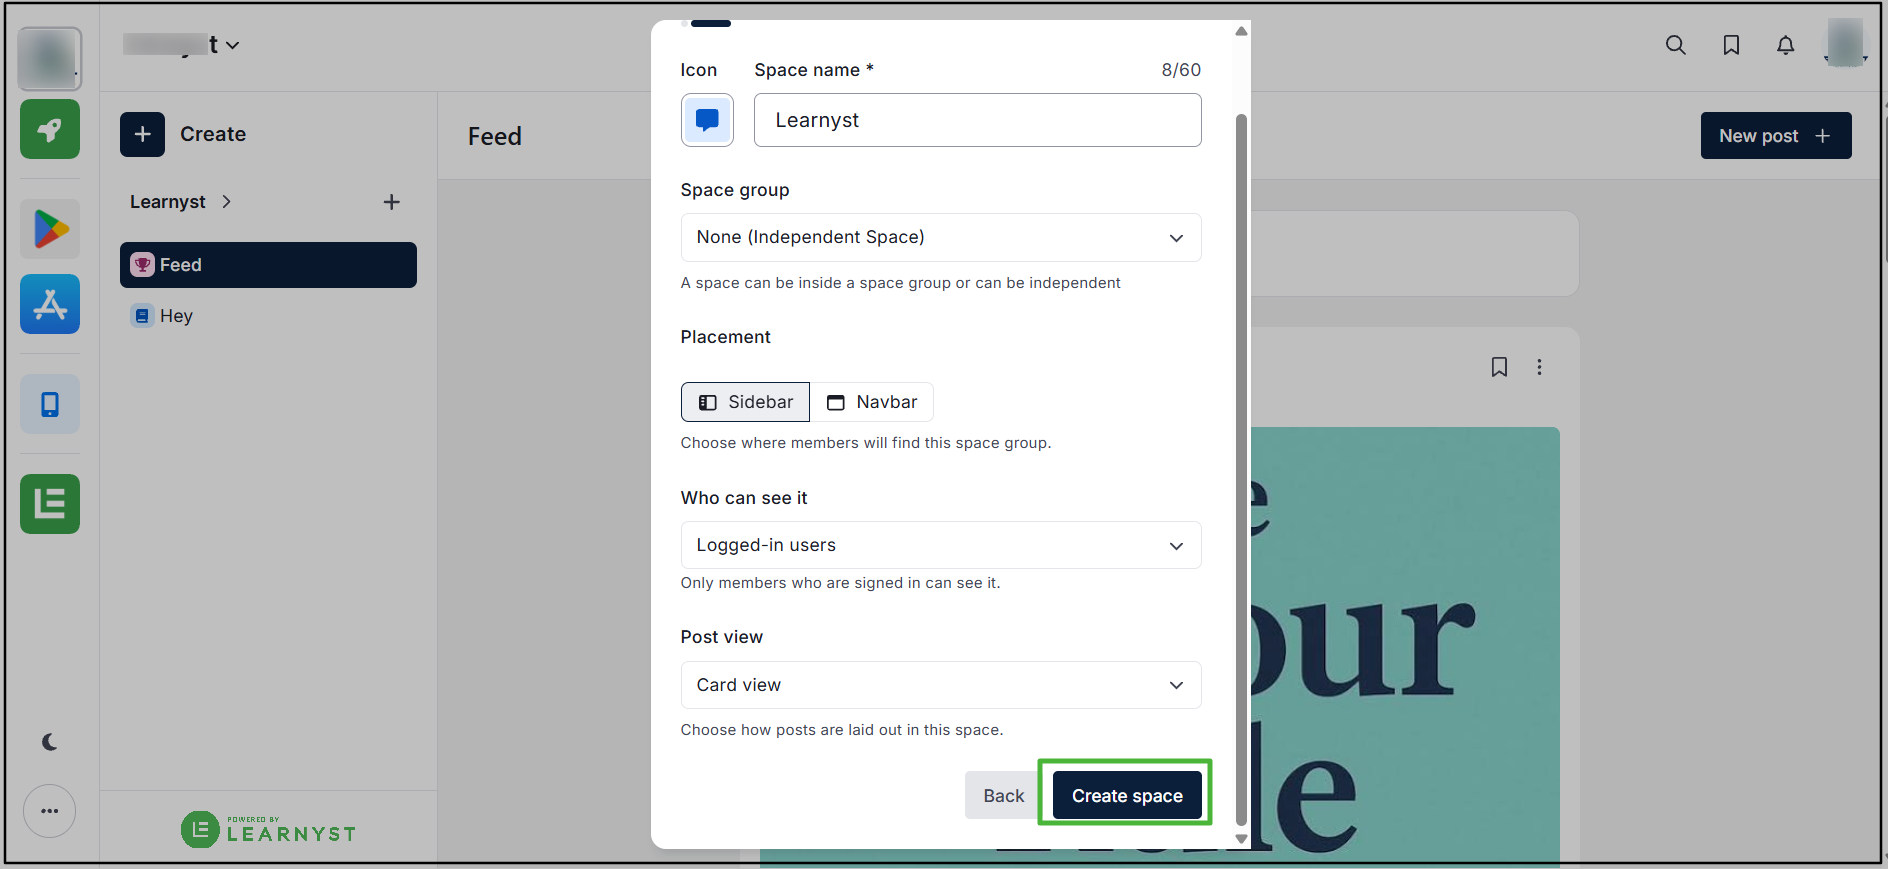
Step 6: Create the Community Space
Complete the required settings and create the Community Space.
Create a Community Post
Step 1: Open the Community Space
From the Socials Dashboard, select the required Community Space.
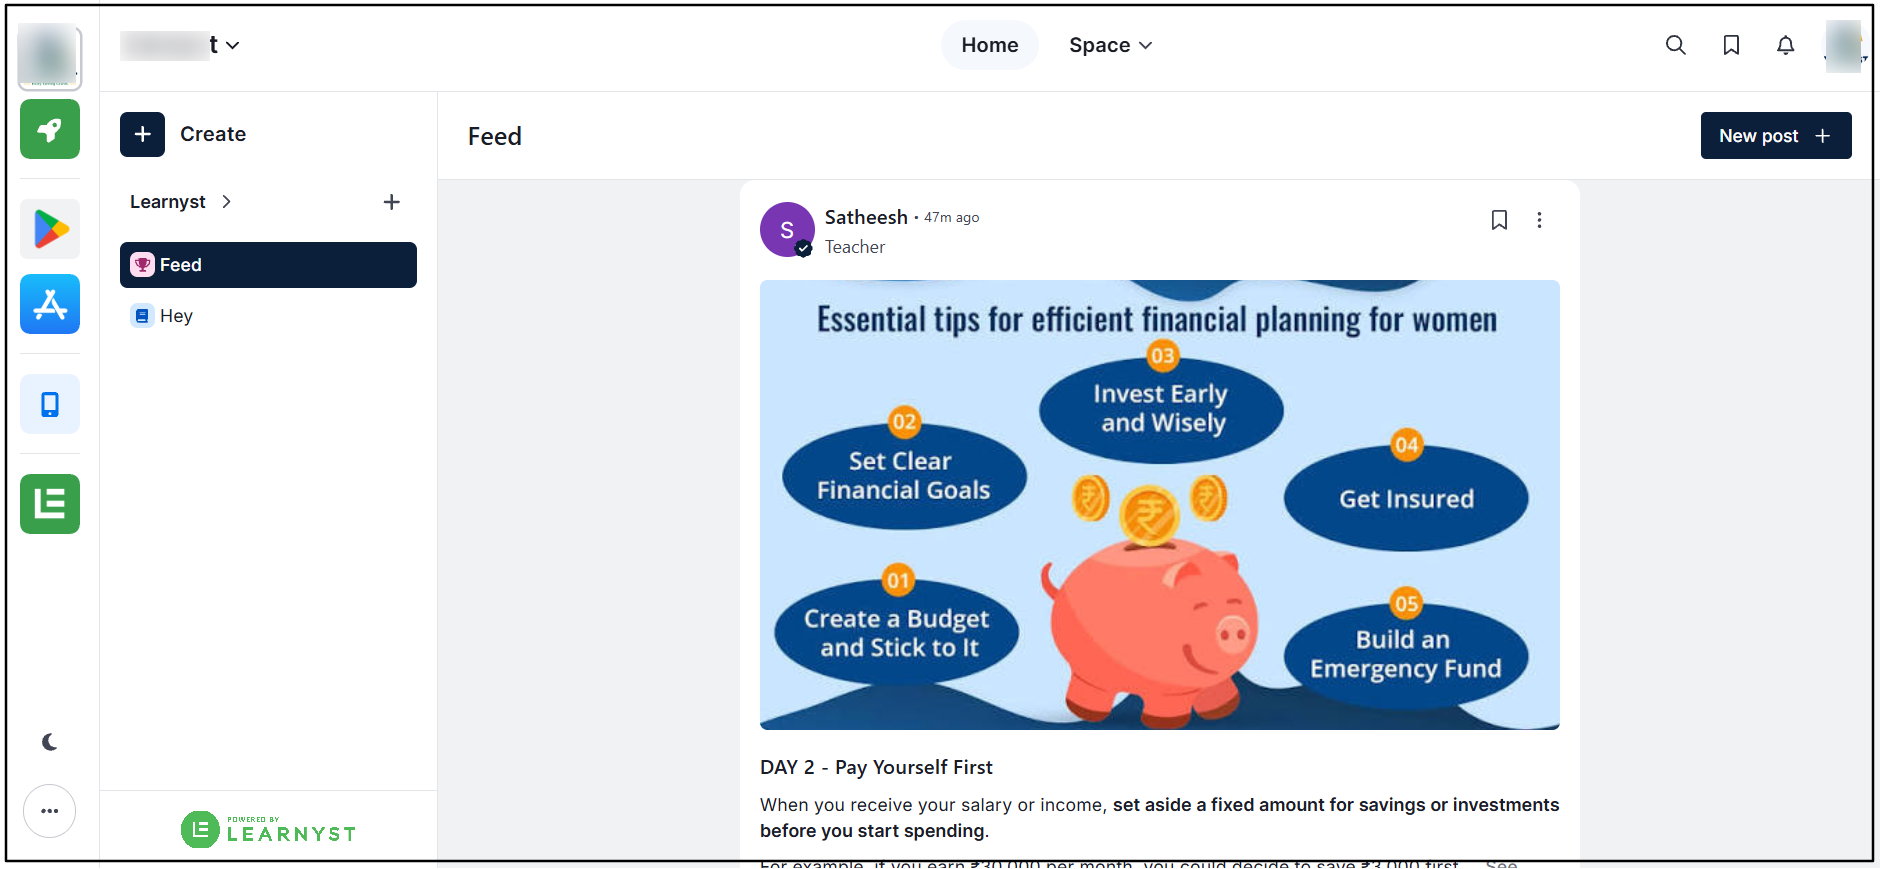
Step 2: Click Create Post
Click the Create Post icon in the top-right corner.
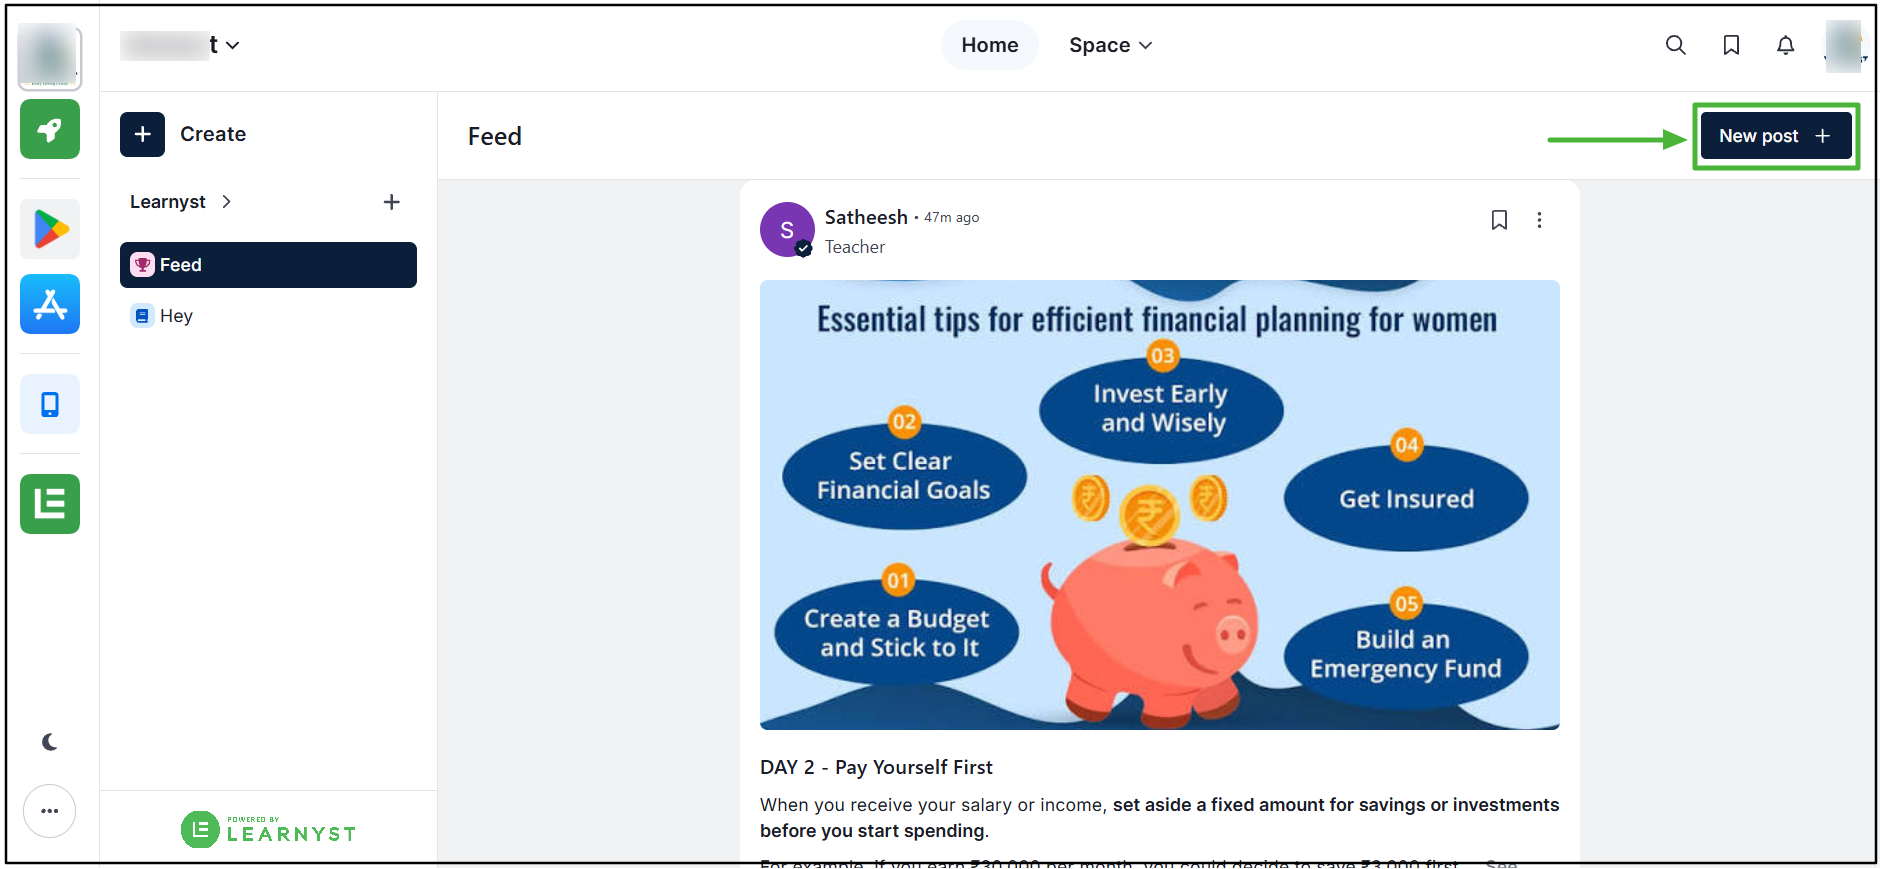
Step 3: Add Post Content
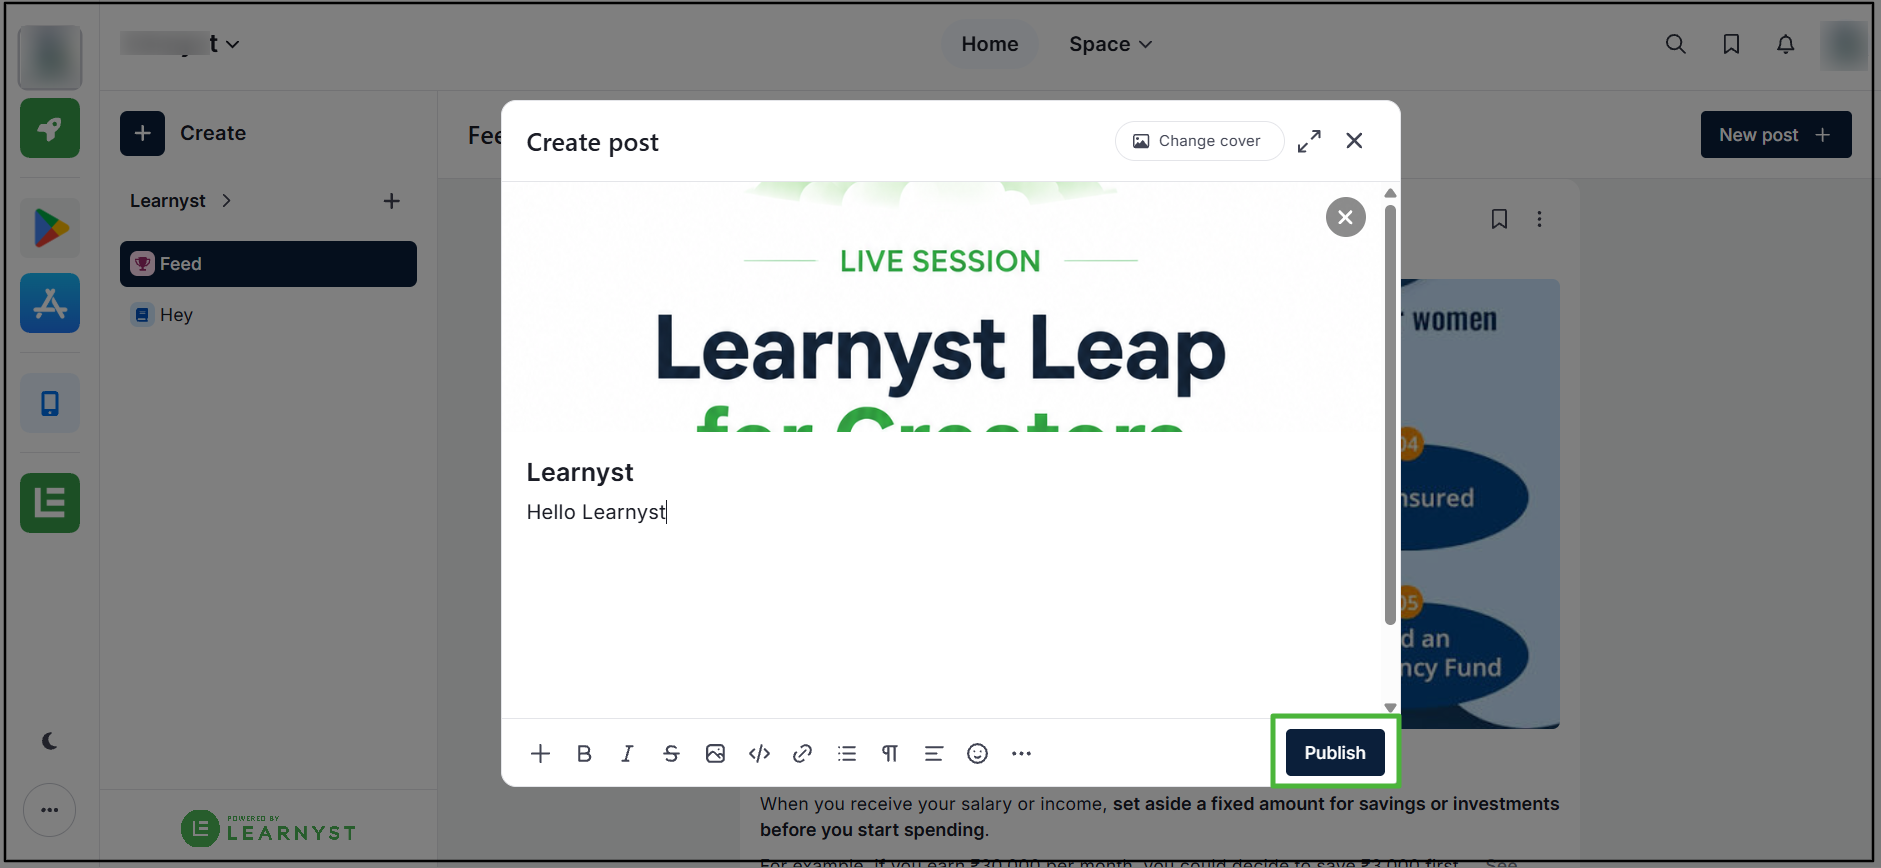
Enter the Title and add the required content in the post body. Images and other supported forms of content can also be added to the post.
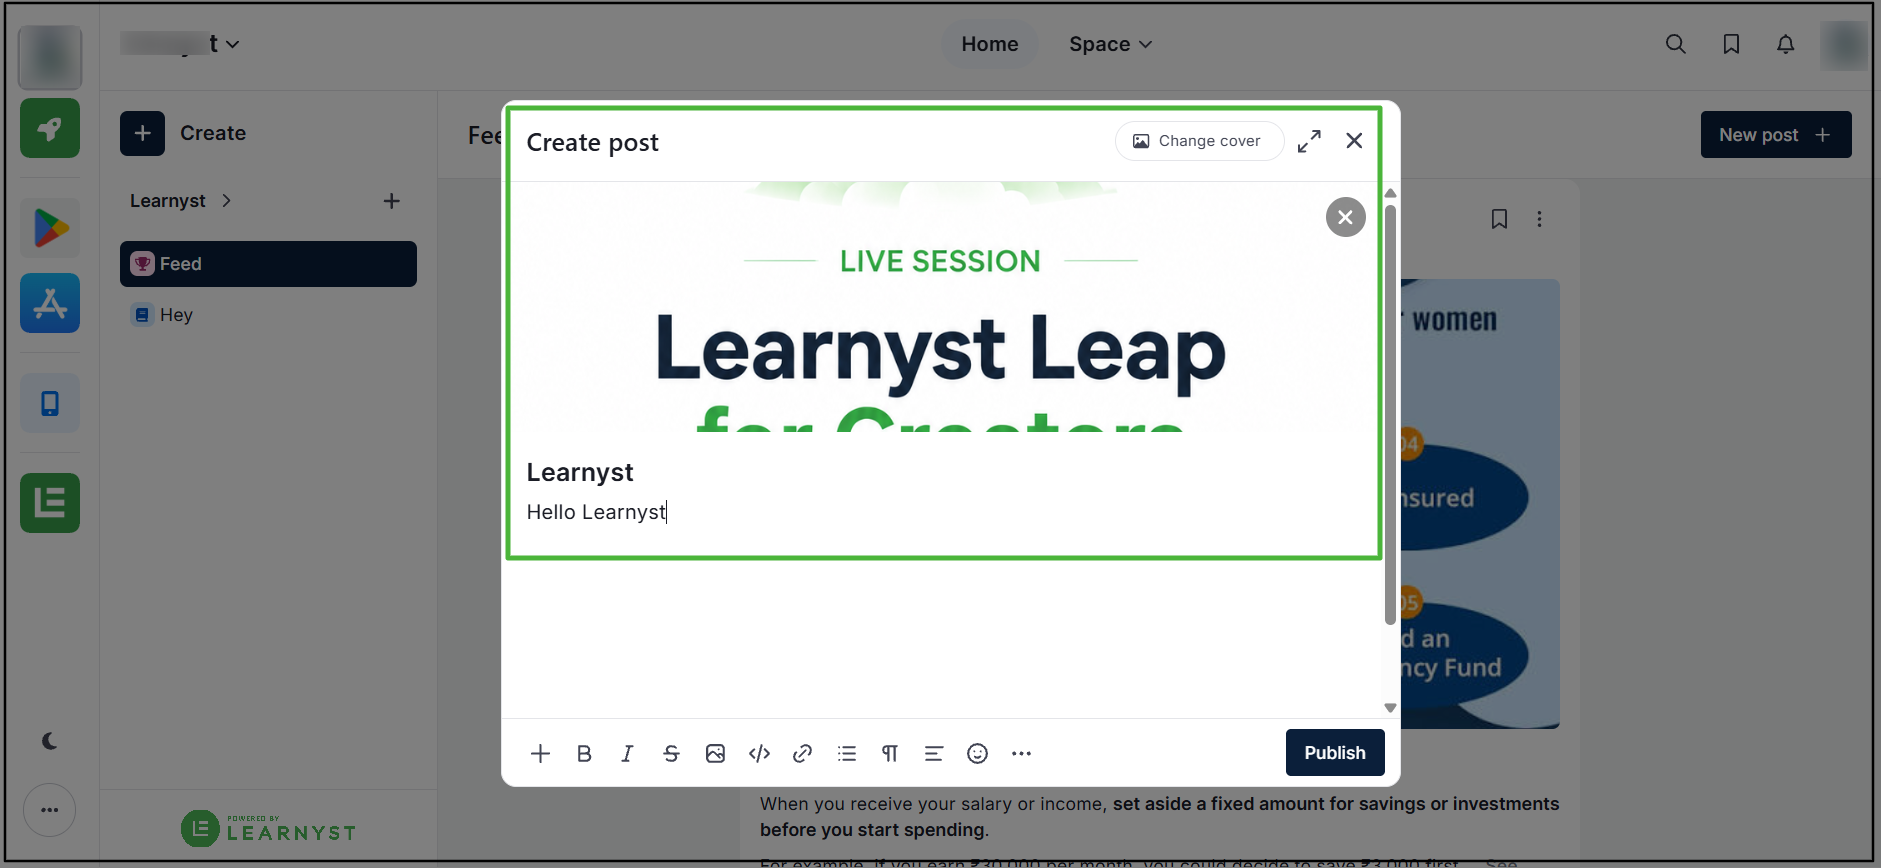
Step 4: Publish the Post
Complete the post content and publish it to make it available in the Community Space.