![Learnyst Logo-25-1.png]](https://support.learnyst.com/hs-fs/hubfs/Learnyst%20Logo-25-1.png?height=40&name=Learnyst%20Logo-25-1.png)
Follow these steps to create a Space in Socials:
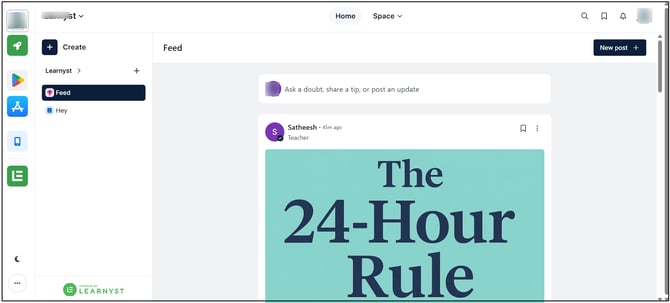
Step 1: Open the Socials Dashboard
Go to the Socials Dashboard to manage and create Spaces.
Step 2: Click Create
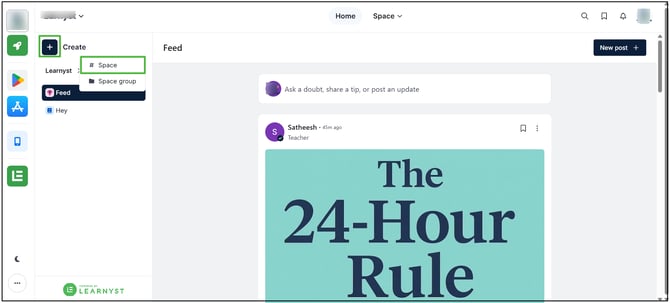
Click the Create button in the top-left corner of the dashboard and select Space.
Step 3: Select the Space Type
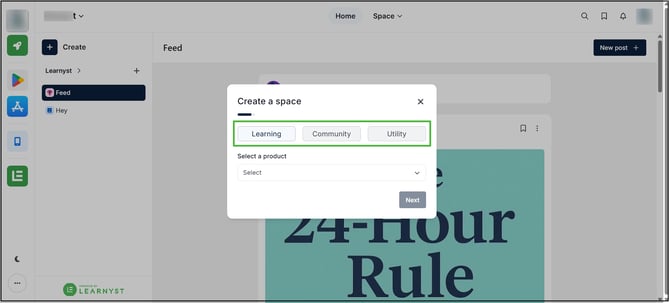
Select the required Space type from the available options:
- Learning: Add learning content such as courses, mock tests, test series, webinars, and podcasts.
- Community: Add community-based content such as Telegram and community posts.
- Utility: Add useful resources such as Store, Enrollments, Events, and external links.
Step 4: Select the Content or Use Case
For Learning, select the required content type and then select the specific content. For example, after selecting Courses, select the particular course to be added to the Space. and click Next
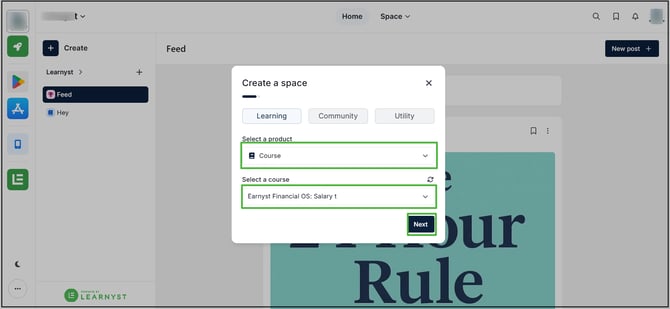
Select the relevant use case based on the selected Space type.
Step 5: Configure the Space
Configure the Space by selecting the Icon, entering the Name, selecting the associated Space Group, and setting the required Visibility.
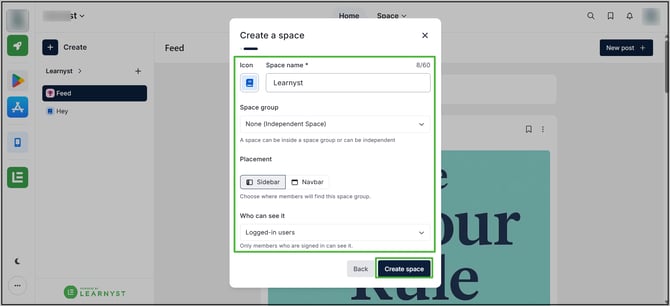
Complete the required configuration and create the Space. The new Space will be available in the selected Space Group.
Once a Space is created, it becomes available in the selected Space Group according to the configured visibility settings. The Space can then be managed, moved, or deleted from the Socials Dashboard.