![Learnyst Logo-25-1.png]](https://support.learnyst.com/hs-fs/hubfs/Learnyst%20Logo-25-1.png?height=40&name=Learnyst%20Logo-25-1.png)
Watch the entire video here, or you can go through each step explained below.
You can add a navigation menu to the header or footer of your website by following these simple steps:
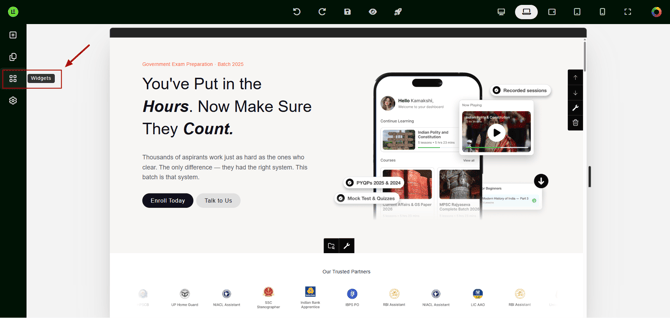
- To start, navigate to your website landing page and click the Widgets icon.
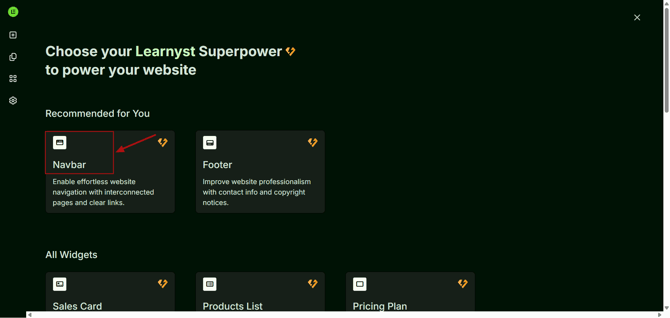
- Here, select the Navbar widget
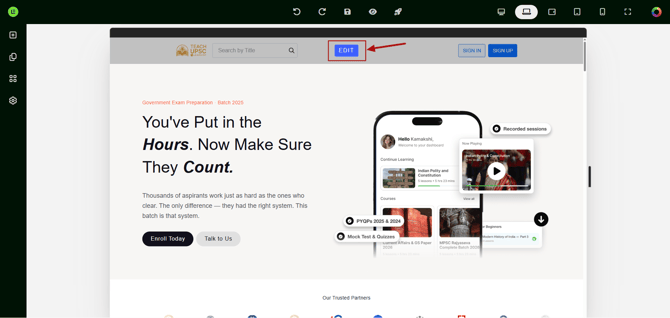
- Now, simply hover over the Navbar or Footer and click on the Edit button.
-
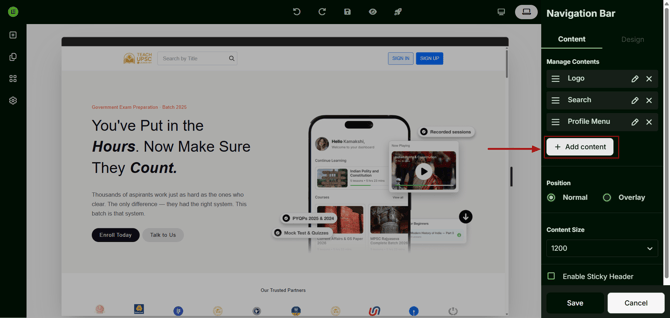
Next, on the right side of your screen, locate and click on the Add Content button.
-
From the Add Content type dropdown menu, choose Horizontal Menu or Drop-down Menu.
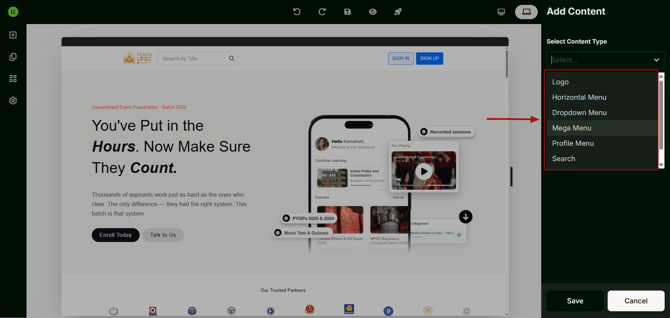
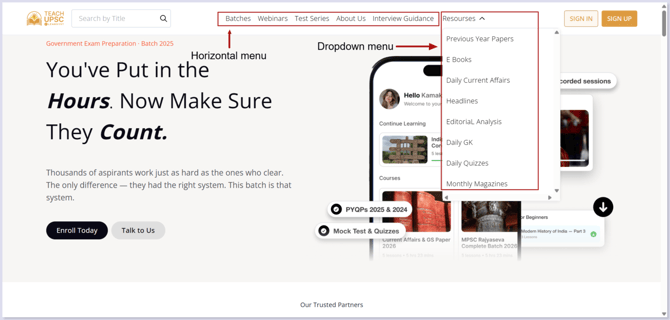
- Horizontal menu items are designed to be placed horizontally one after the other.
- In dropdown menus, a button is included that, when clicked, reveals a dropdown menu with clickable links for users to navigate through.
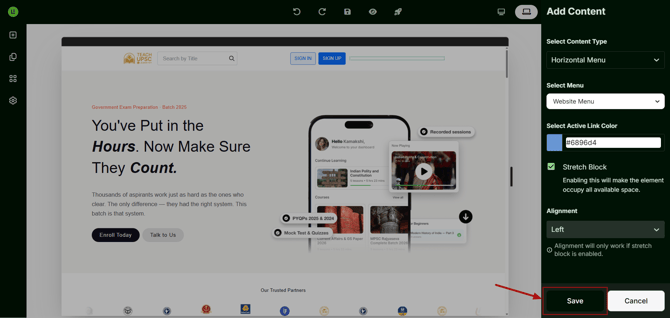
- Select the menu that you have created in the Navigation Menus section.
- To adjust the alignment, make sure to check the Stretch Block checkbox first. Enabling the Stretch Box option allows you to align the item either to the right or left within the stretched block.
-
Once you've made all desired changes, don't forget to click Save to apply them.
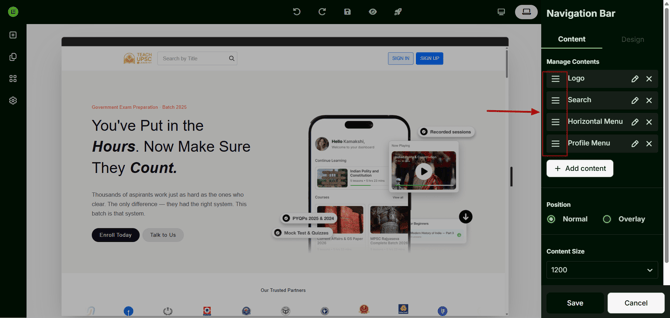
- You can reorder the menu elements by dragging them
-
Once you publish the landing page, your visitors will see it like in the image below