![Learnyst Logo-25-1.png]](https://support.learnyst.com/hs-fs/hubfs/Learnyst%20Logo-25-1.png?height=40&name=Learnyst%20Logo-25-1.png)
Step 1: Open the Socials Dashboard
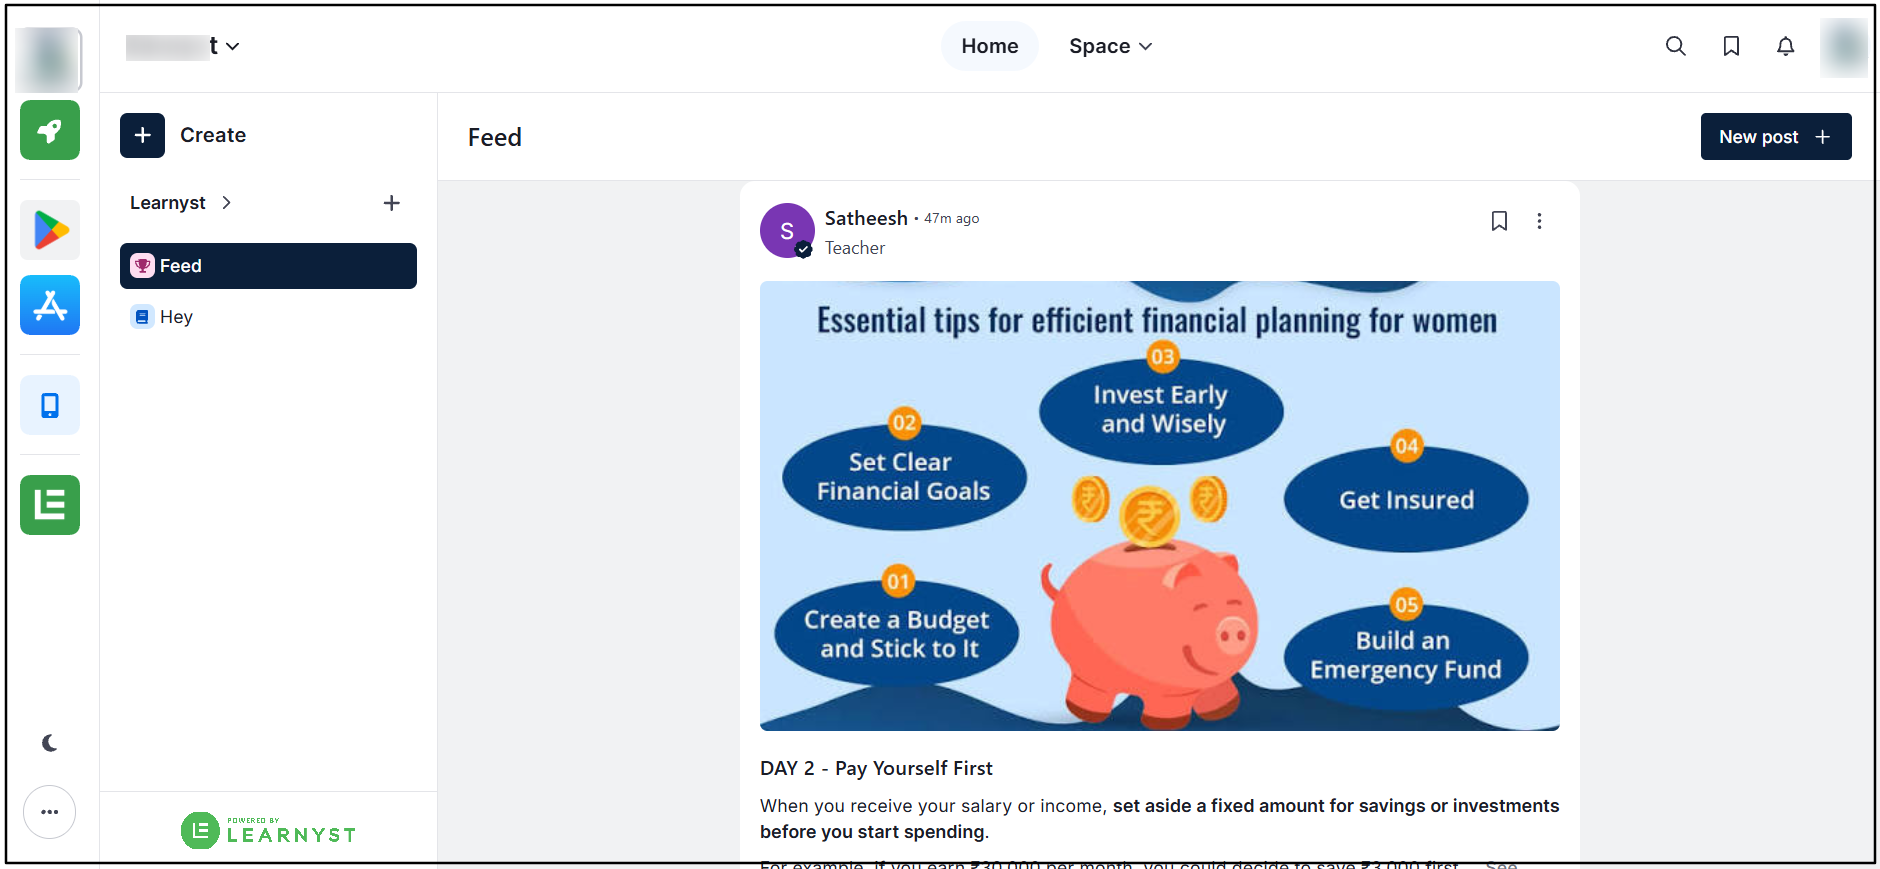
Go to the Socials Dashboard to view and manage the created Spaces.
Step 2: Open the Space Options
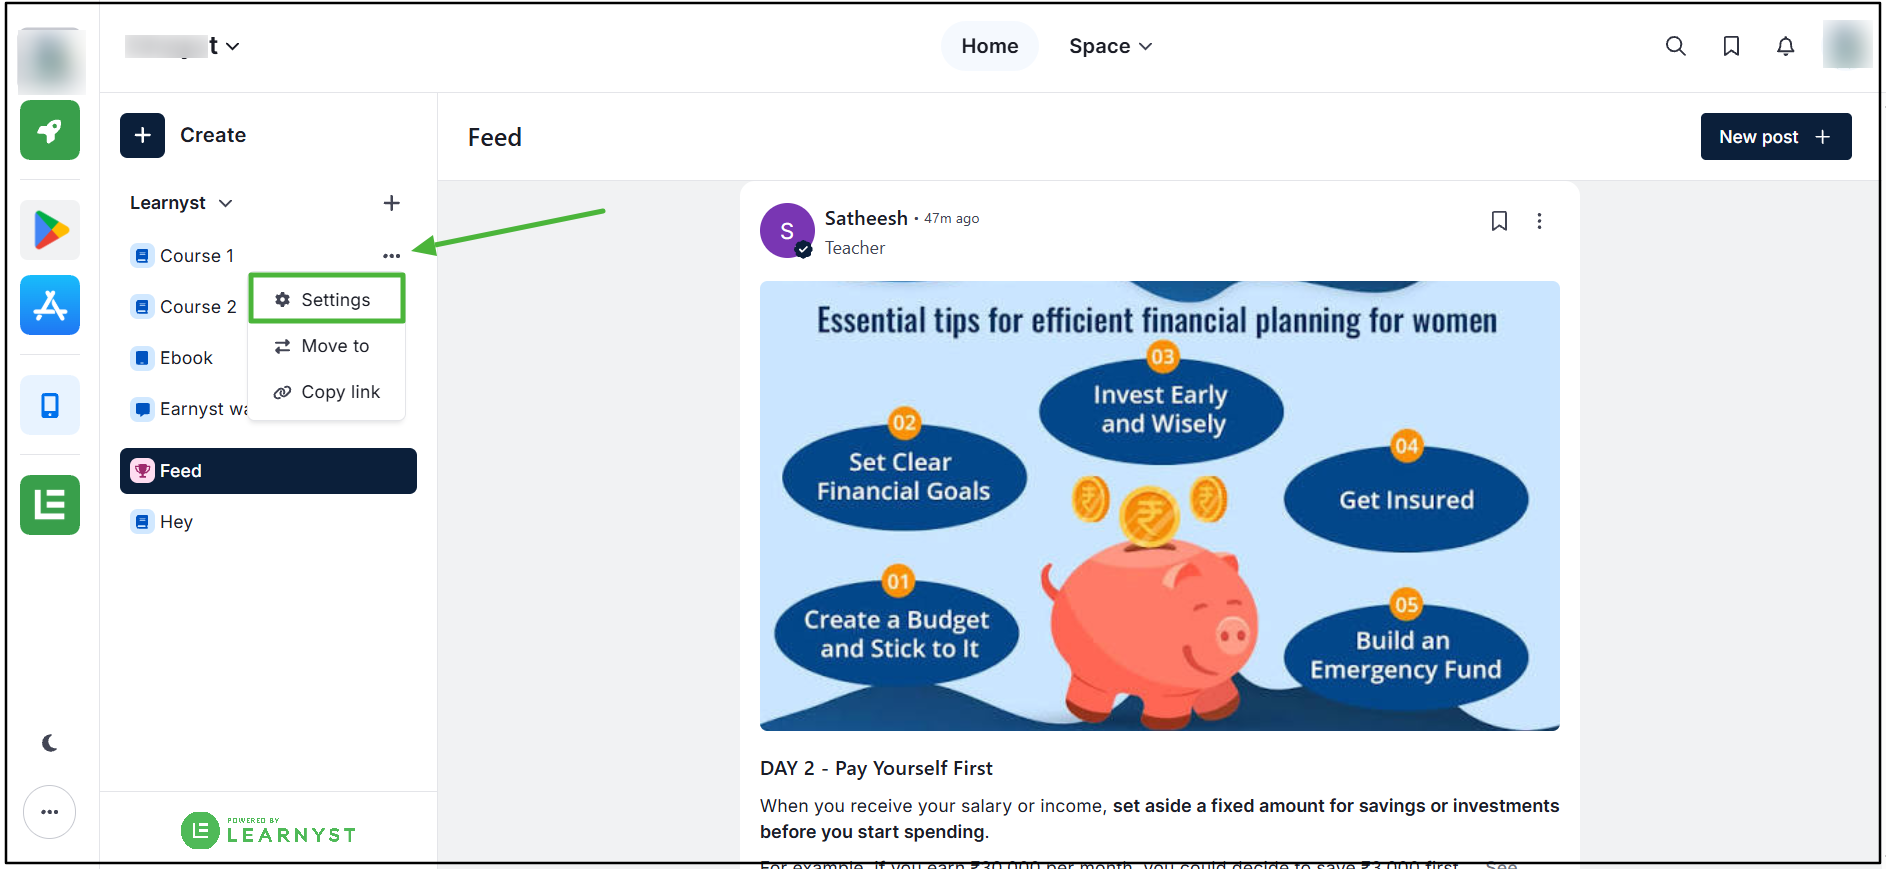
Locate the Space that needs to be managed and click the three-dot menu associated with the Space.
Step 3: Update Space Settings
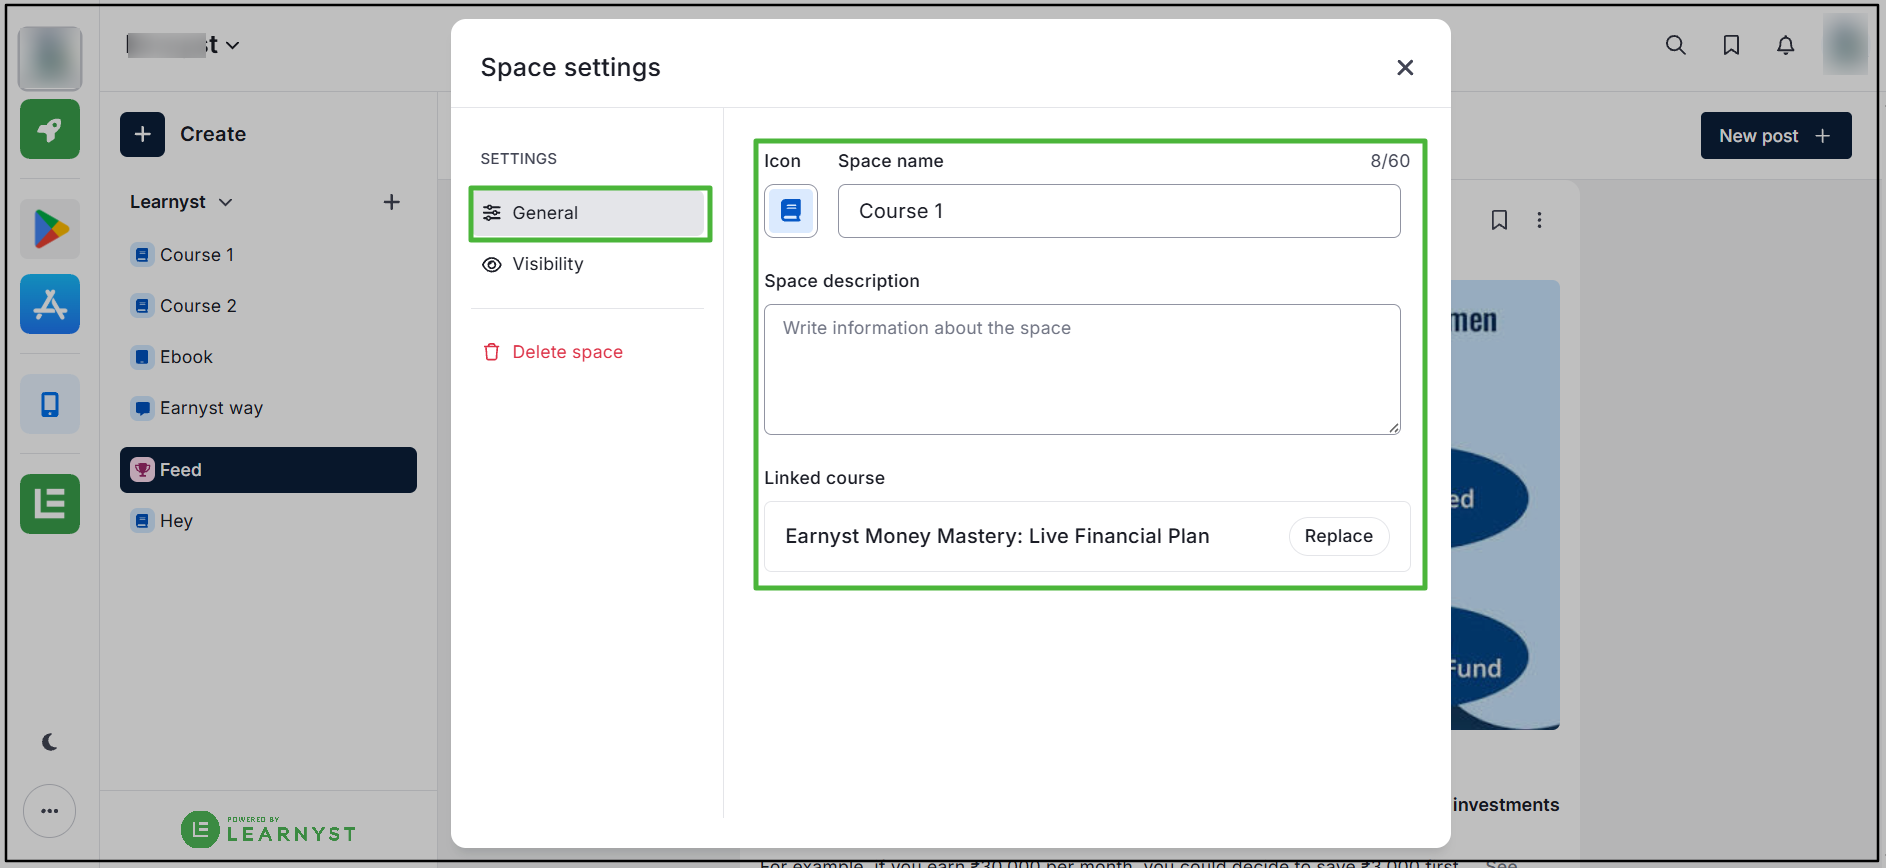
Select Settings to update the Space details. Under the General section, the Icon, Name, Description, and Linked Course can be customized.
Step 4: Manage Visibility
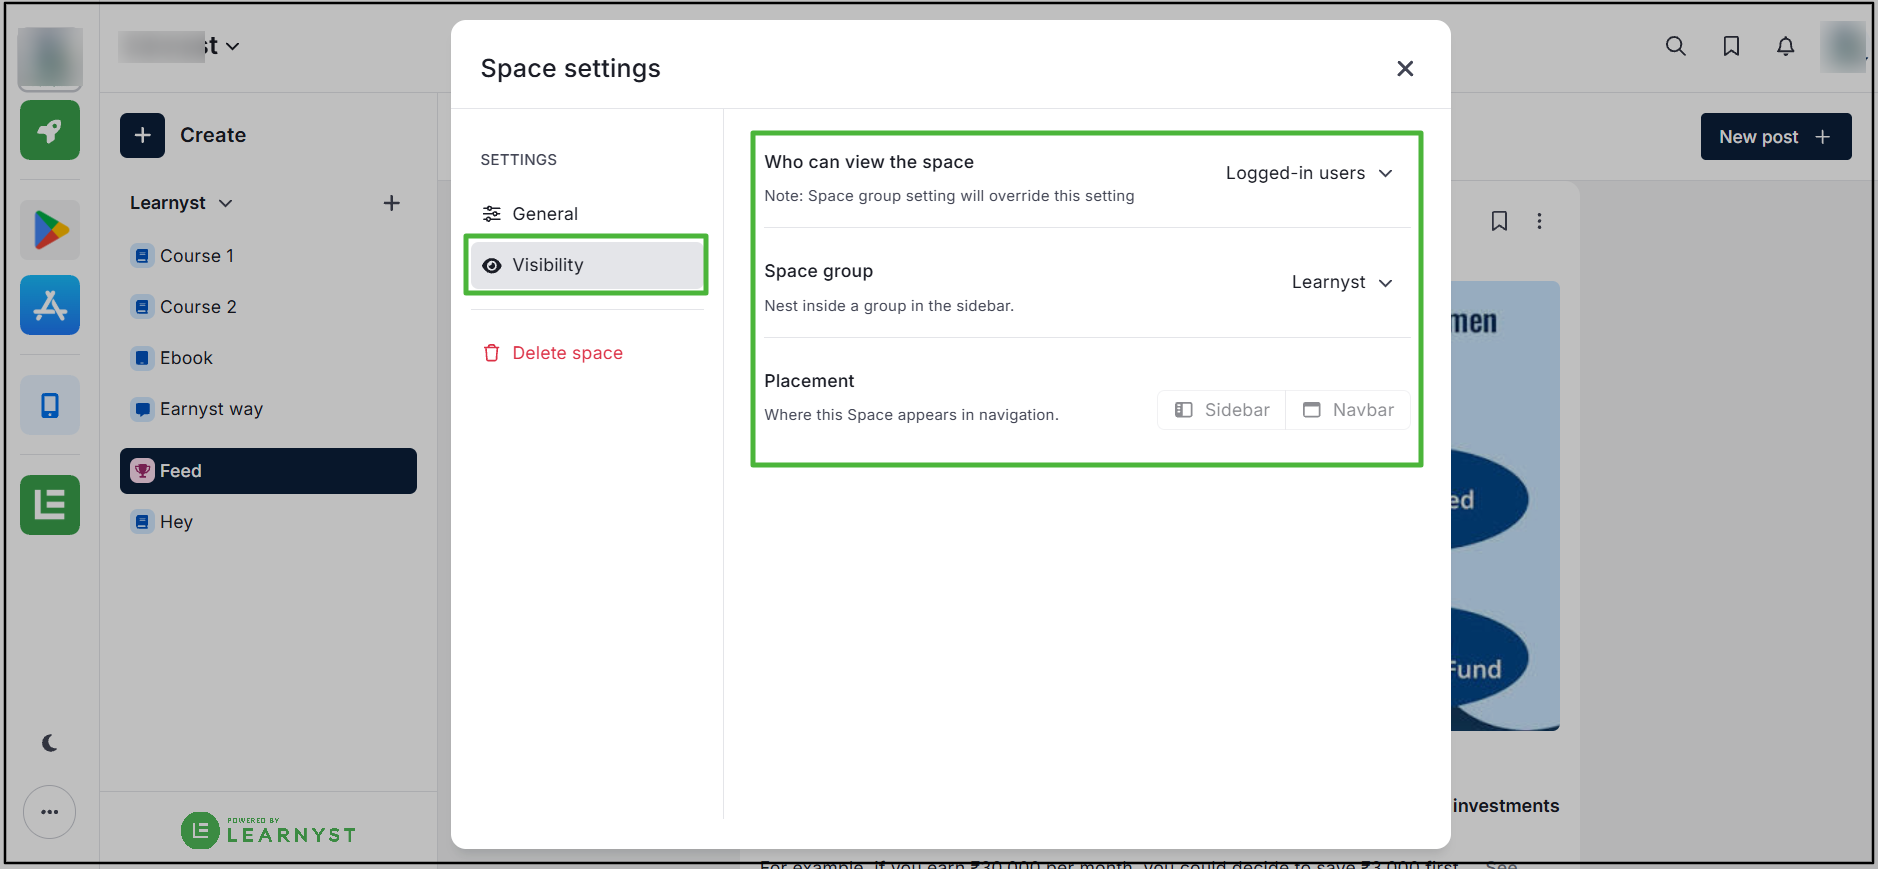
Open the Visibility section to change who can access or view the Space. The Space Group associated with the Space can also be changed from the visibility settings.
Step 5: Delete a Space
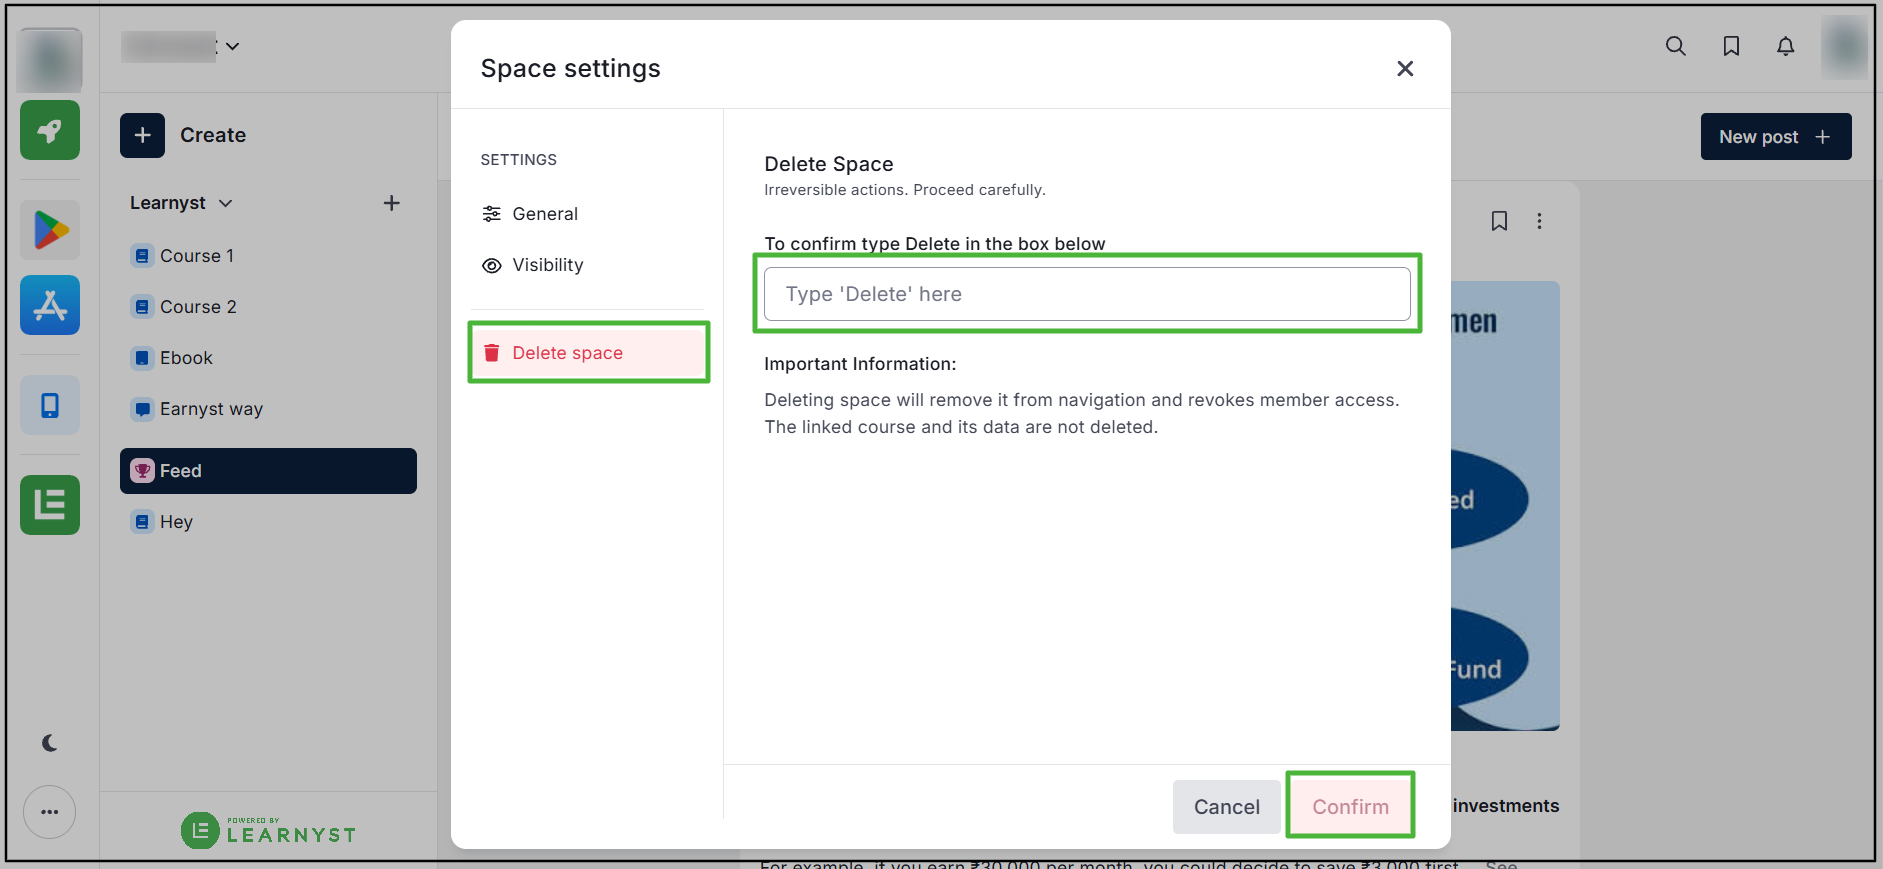
To delete a Space, select the Delete Space option. Enter the name of the Space and click Delete to remove it.
Step 6: Move a Space
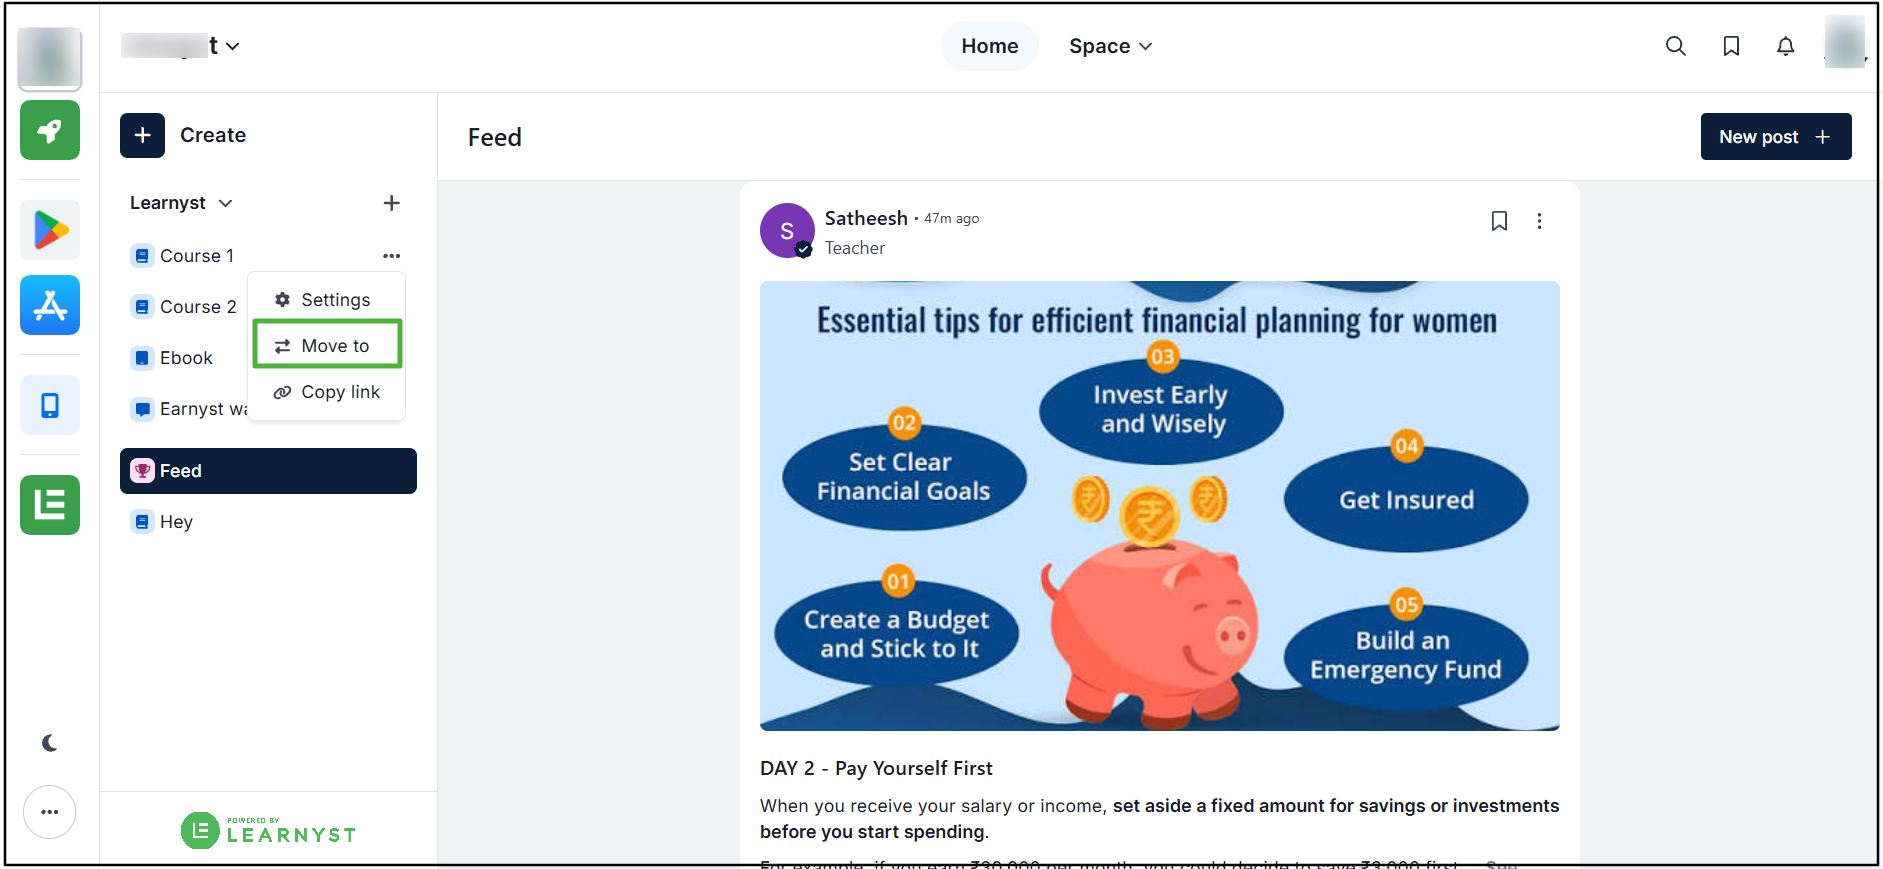
Select Move To from the three-dot menu to move the Space to a different Space Group. Spaces can be moved between available groups in the Navbar or Sidebar.
Step 7: Drag and Drop Spaces
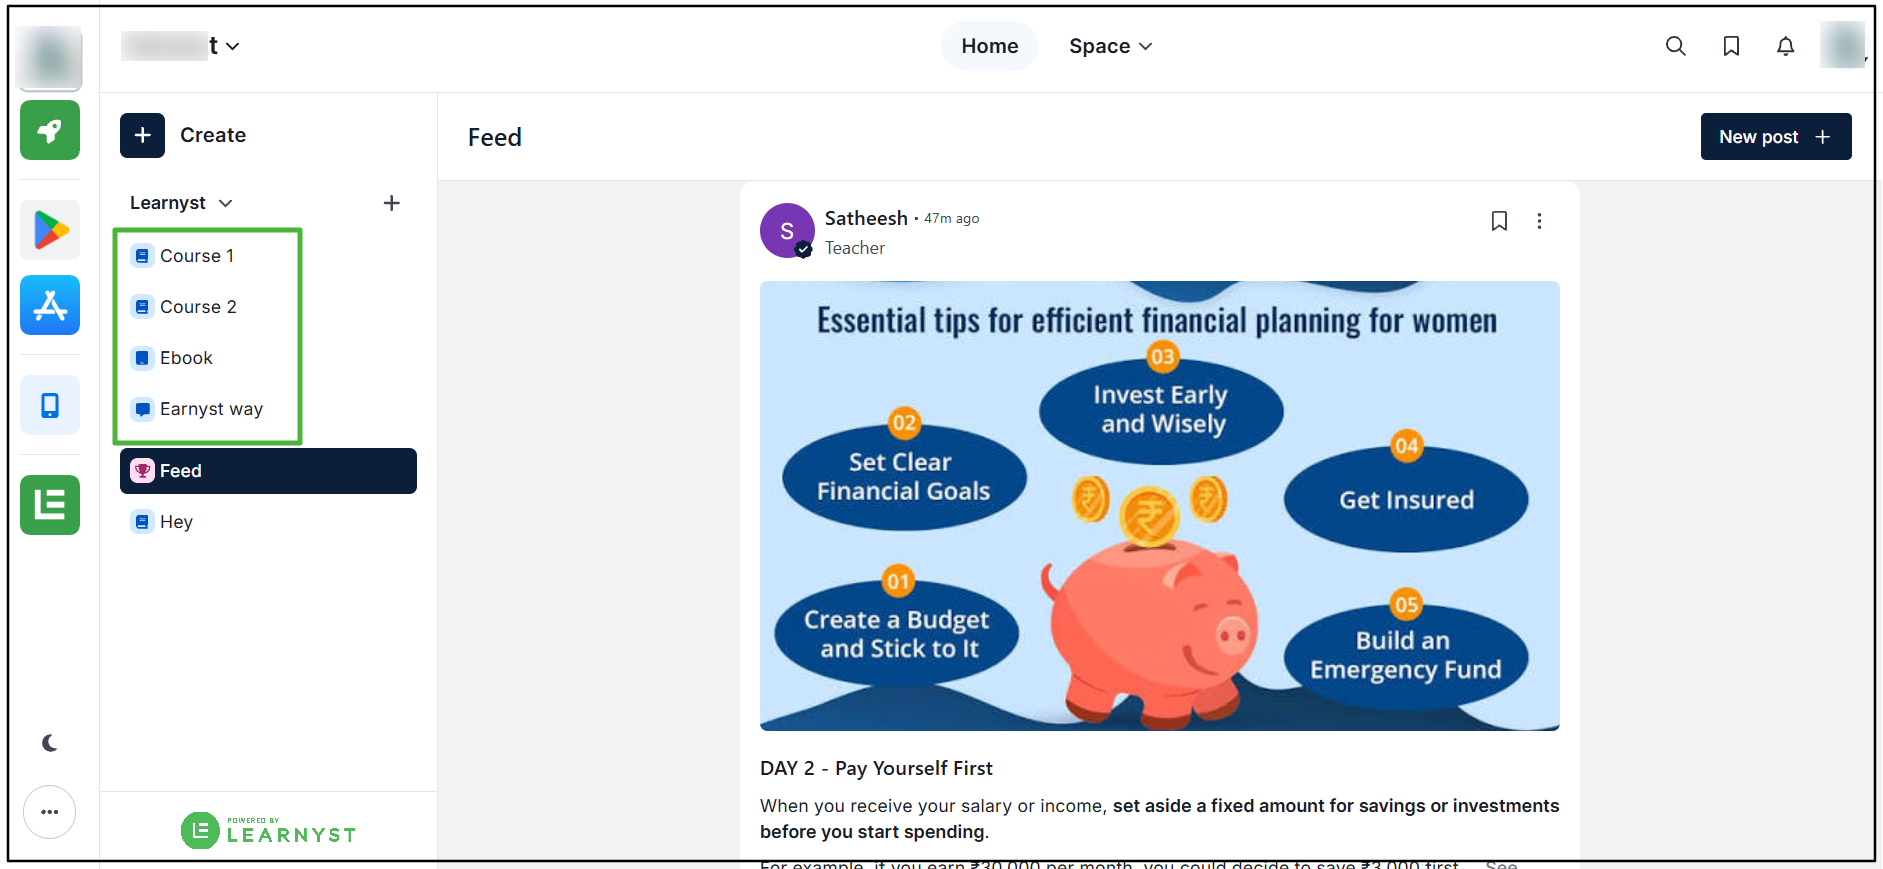
Spaces can also be organized easily by dragging and dropping them into the required Space Group.
Step 8: Copy the Space Link
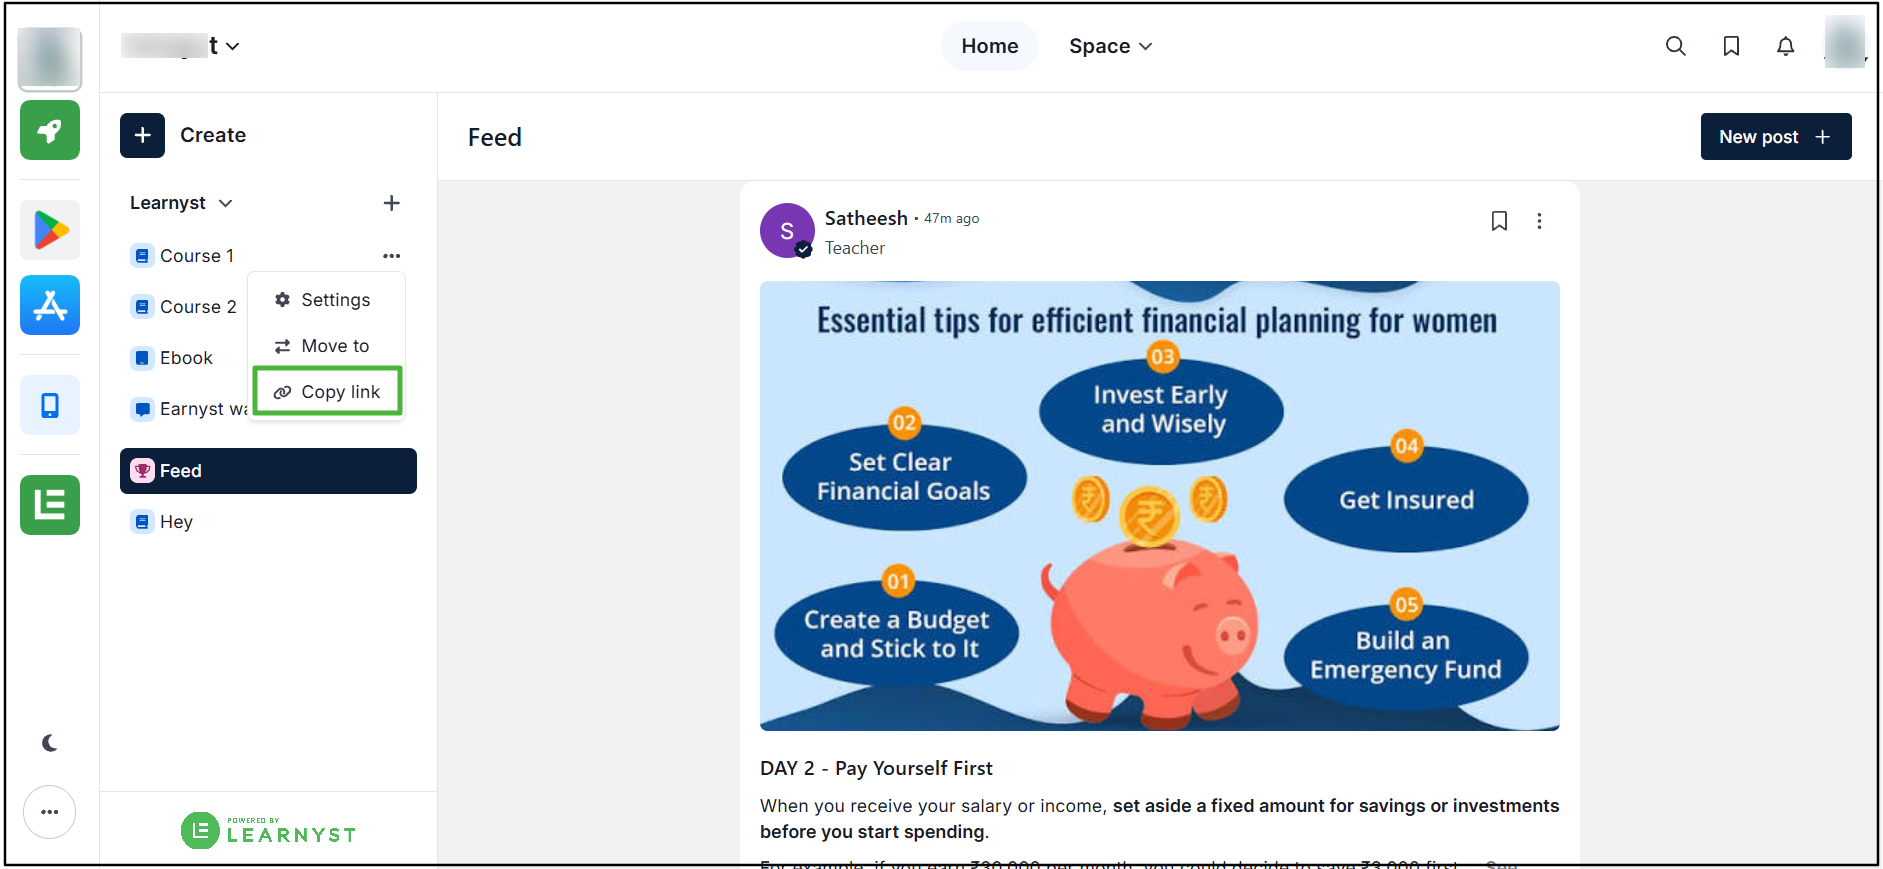
Select Copy Link from the three-dot menu to copy the Space link. The copied link can be shared as required.