In this Article:
- Adding Button.
- Remove and Duplicate buttons
- Customize button by adding border, changing background color, etc.
- Modify Text within the Button.
- Button Templates.
- Save Buttons.
Watch the entire video here, or you can go through each step explained below
Adding Button:
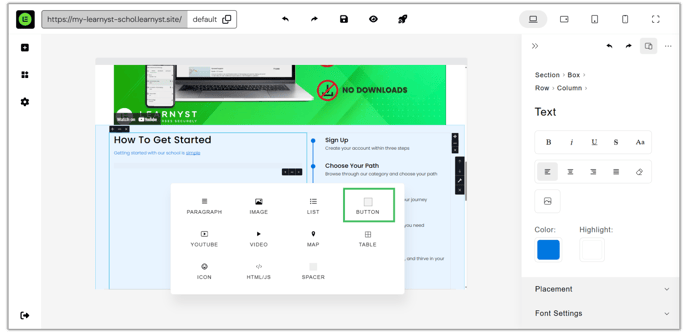
- To add a button to any container, simply click on the Add option.
- Select Button from the list of options to choose from. The button will be added to the screen.
Remove and Duplicate Buttons:
- Click on Duplicate icon to create a copy of the same button placed next to it. Click remove icon to remove the button.

- Click on the Link icon to add a link to our button.
Customize Button:
- Click Edit.

- Color: Under General Label, select the Background Color and Text Color for the button.

- Margin & Padding: Add margin and padding to adjust the appearance of the text within the button to our liking.

- Border: We can choose border color, border thickness and border radius to round the corners of the button.

- Hover: When hovering over a button, we have the option to set a background color and switch the text color between light and dark.

Modify Text Settings:
- Click on Text to configure the text properties like Font Size, Character Casing, and Letter Spacing.

Templates:
- Alternatively choose from pre-designed button templates by clicking on Templates.

Save Buttons:
- Select Saved and click on Save Current Button to save the customized button and easily reuse it without the need to customize it again from start.
