In this article, we will explore how to link a button click with different actions:
- Open Image
- Go to Product Checkout or Product Details.
- Go to Community Dashboard.
- Link CTA button.
- Go to Link
Watch the entire video here, or you can go through each step explained below:
Open Image on Click:
- Select the button to which you want to add a link.
- Click on the Link icon on the button.

- You can choose a Video or an Image by clicking on the Upload icon.

- Choose to open in a new window or on the same screen by clicking on Open in a Lightbox.
- Title: This text is what the user sees when they hover over the button.
Go to Product Details and Product Checkout:
- Click on the Link input field and Button settings will open.

- Select Go to Product Checkout from the Action drop-down Menu and choose a product from the drop-down list.

- Selecting the Go to Product Details option redirects learners to the product details page upon button click.
- Click Save to apply the changes.
Go to Community Dashboard:
- Clicking on Go to Community Dashboard directs users to join the community.

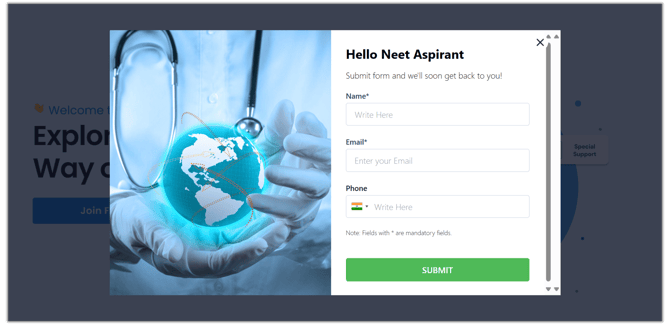
Link CTA Button:
- You can add a Embed CTA button which you would have already created.

- Upon clicking the button, a CTA form will appear. Once you submit the form, you will be able to view the submission details.
Go to Link:
- Select Go to Link from the Action drop-down menu and enter the URL.
- You can choose to open the link in a new window by clicking on Open in New Window.
