How to Convert PPT Into Images
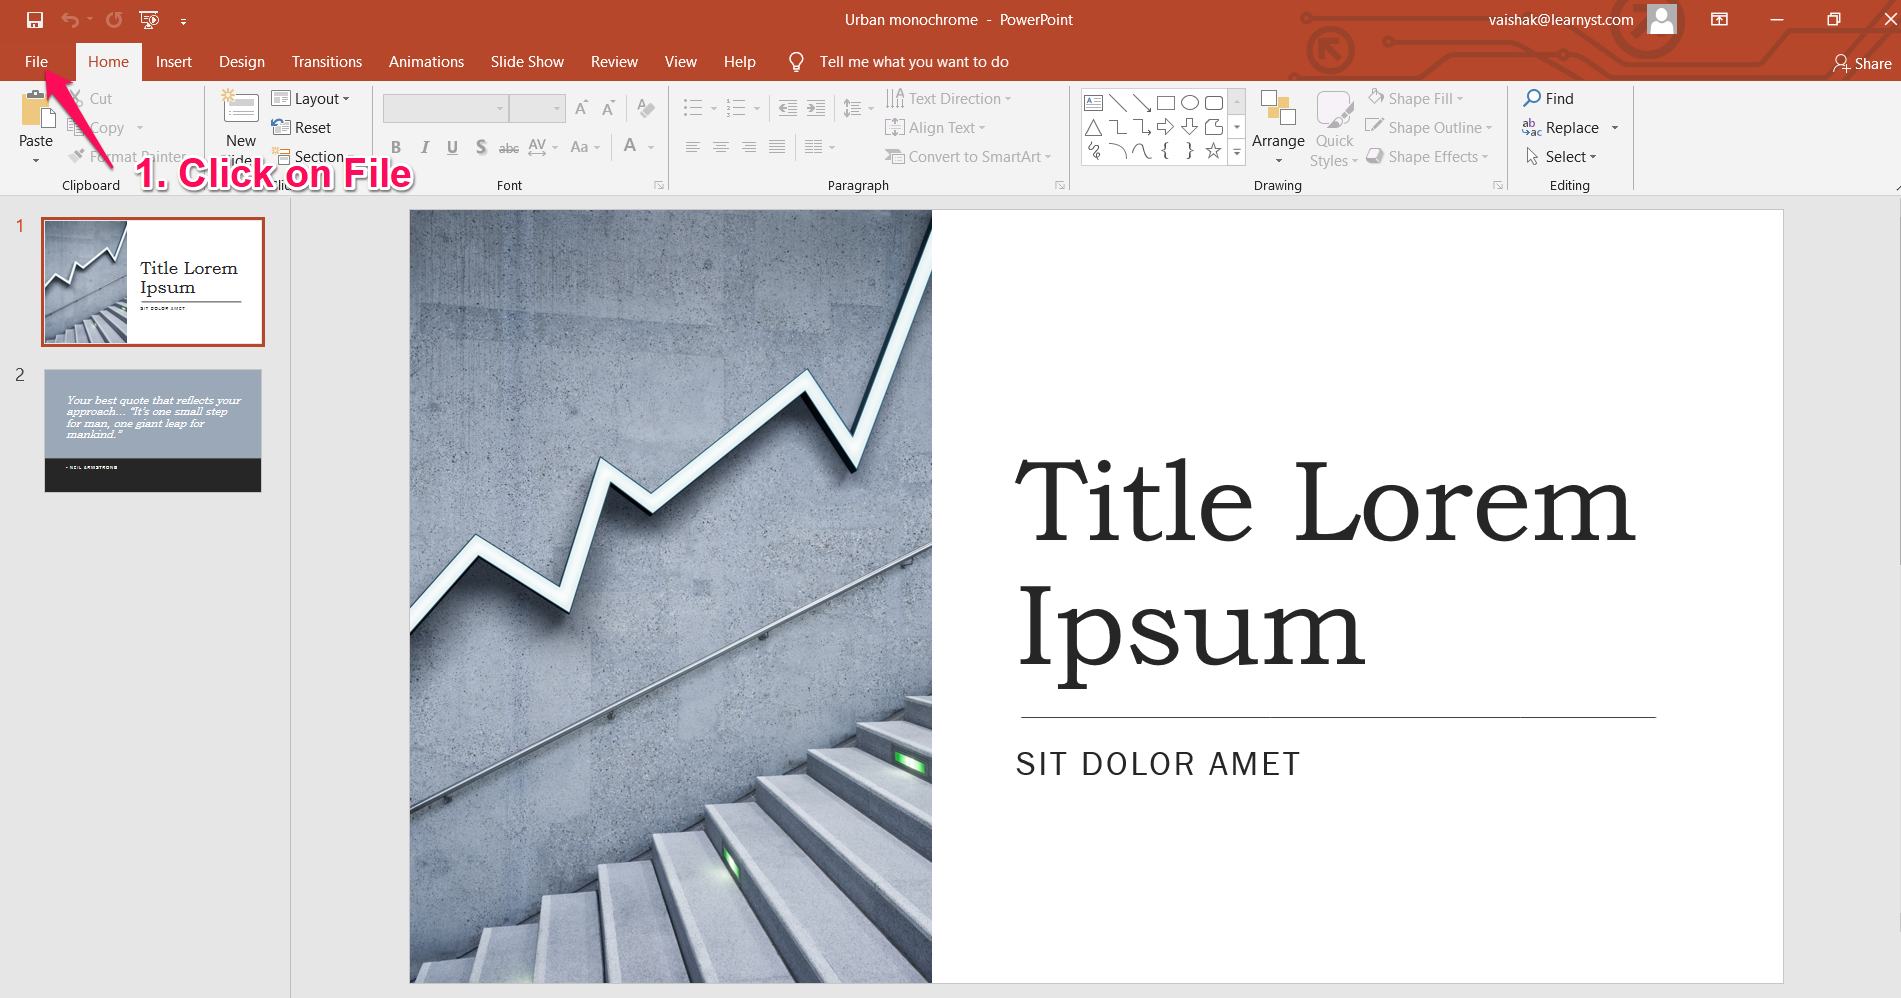
- First, open the presentation and click on File

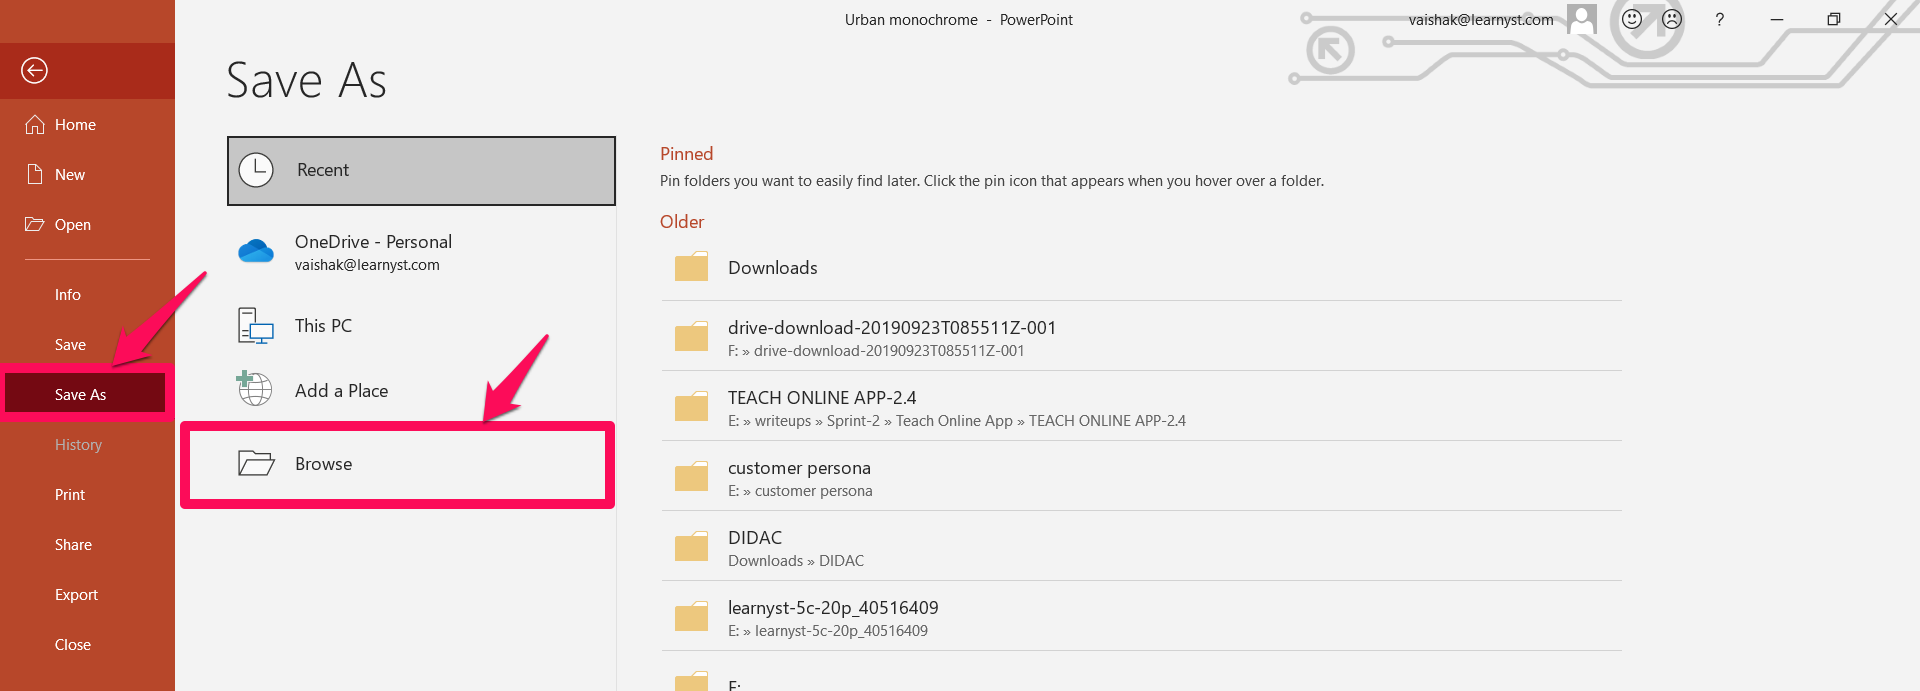
- Next, click on the Save as option and click browse

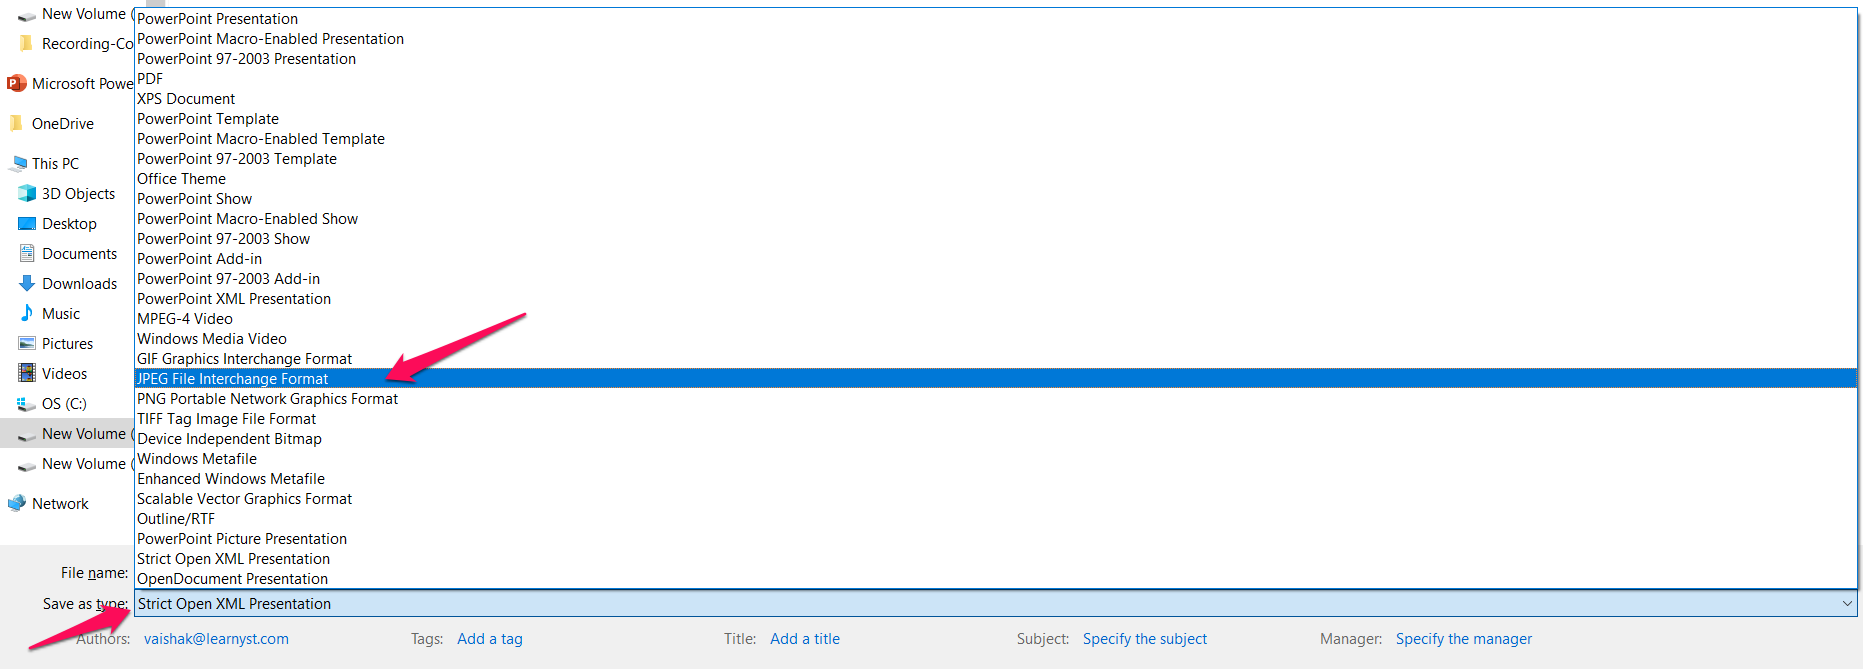
- Click on the bottom save as and select the JPEG or PNG format.

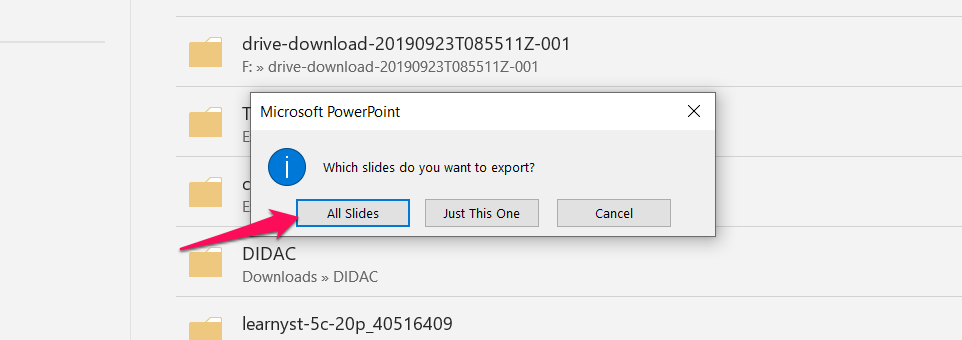
- You can choose to export the entire slides or just one slide. Pick the entire slide option if you want to export all your slides.
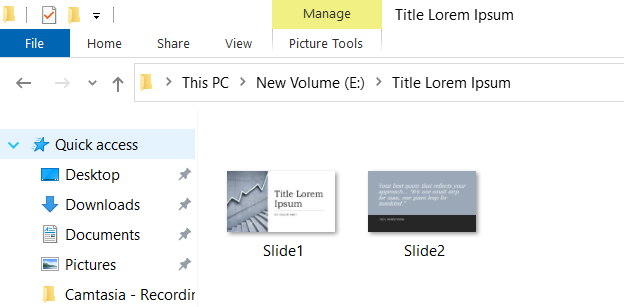
- You will find a folder name ( same name as your slide) automatically created. Your slides will be inside this folder.

- To upload lessons as slides, first save your PPT slides as an image file (in JPEG or PNG format).


How to upload lessons in Dashboard
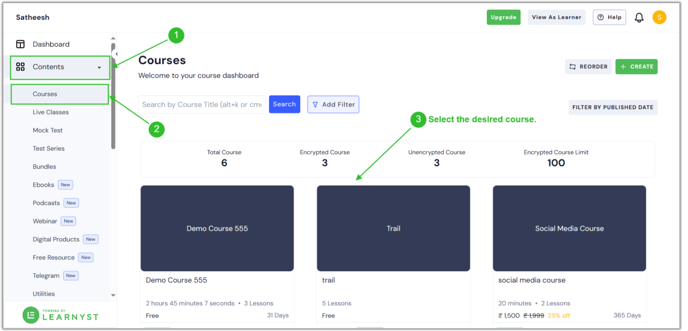
- To add the Image to the slide lessons , go to Contents > Courses > Select the desired course.
- Click the "Add Lesson" button.

- When you click it, several lesson types become apparent. And now just write the lesson title, choose "Slide," and click "Continue."
.png?width=688&height=347&name=slide%20(1).png)
- You can add photos, PDF files, audio, and video to a slide from your computer or a Cloud storage provider, such as Dropbox or Drive.
.png?width=688&height=347&name=slide%20(2).png)
- Your lesson slide is now prepared. Click the Manage button to rearrange the slides or remove any of them.
.png?width=688&height=347&name=slide%20(5).png)
- You can attach files to the lesson to engage your learners.
.png?width=688&height=347&name=slide%20(7).png)
- Once you've attached the files, simply click the Preview option to see how the slide will appear.
.png?width=688&height=347&name=slide%20(8).png)
- Now your learners can access your slide lessons and attachments.