
The filters in the email messenger help you quickly shortlist the learners you want to send emails to. So let me show you how to use the filters.
How To Use Filters Within The Email Messenger
-
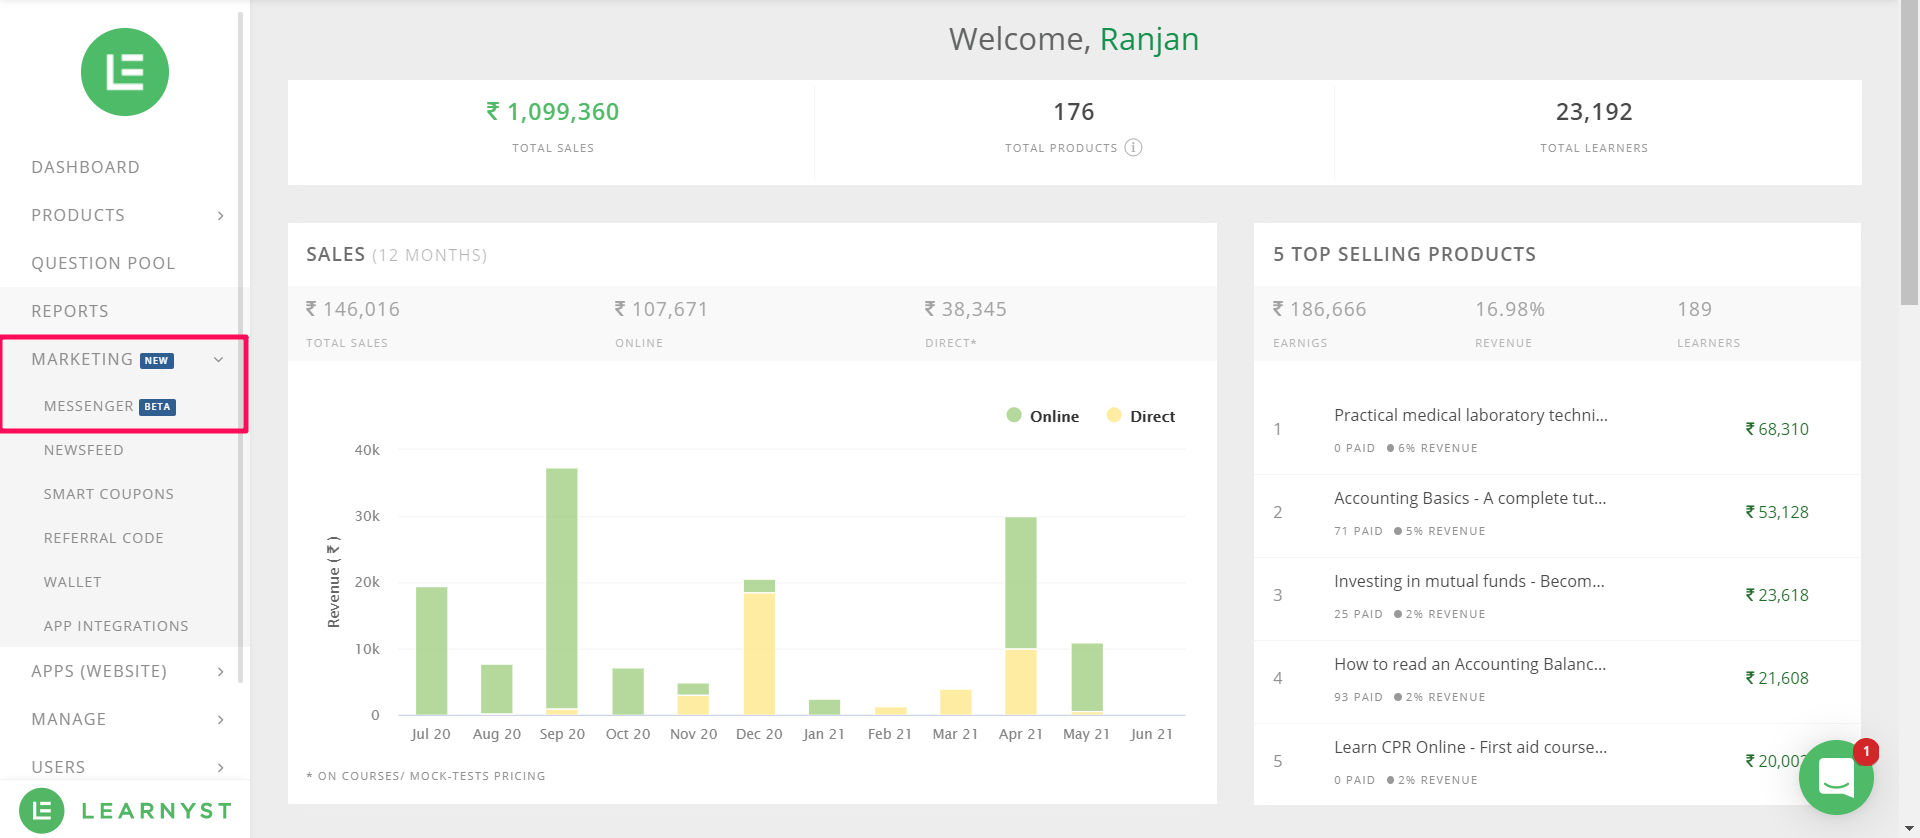
To access email messenger, go to your admin dashboard, click on Marketing > Messaging.
-
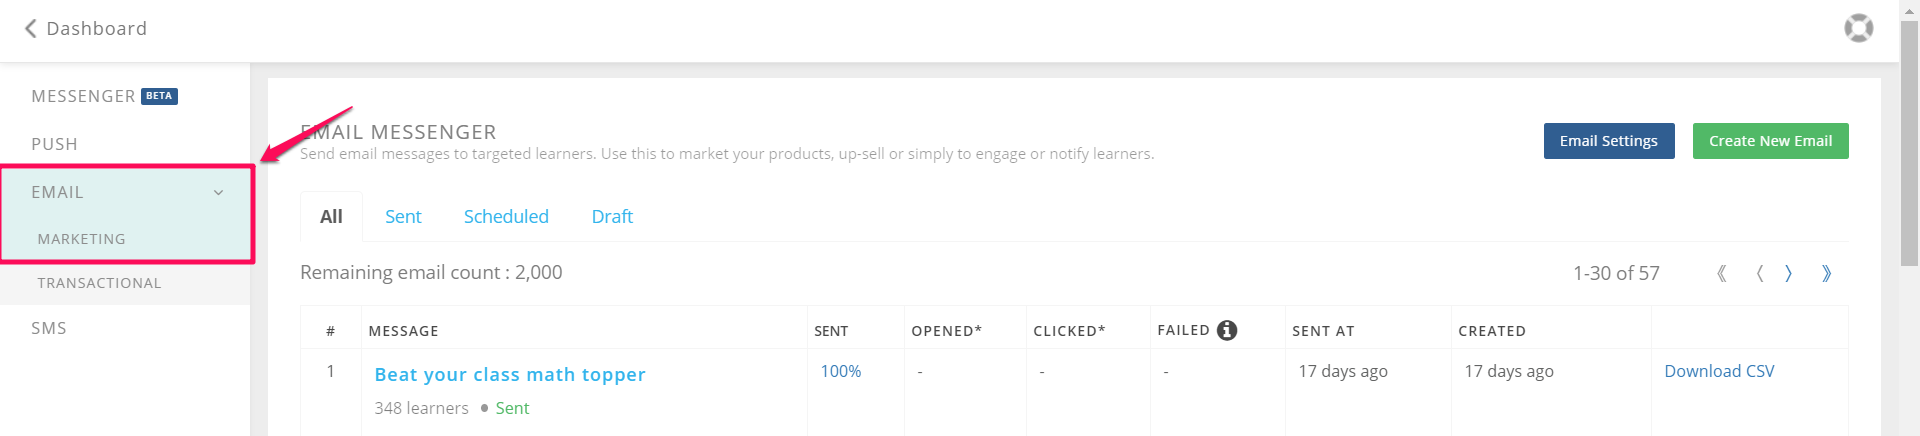
In the next window, click on Email from the left-hand side panel


-
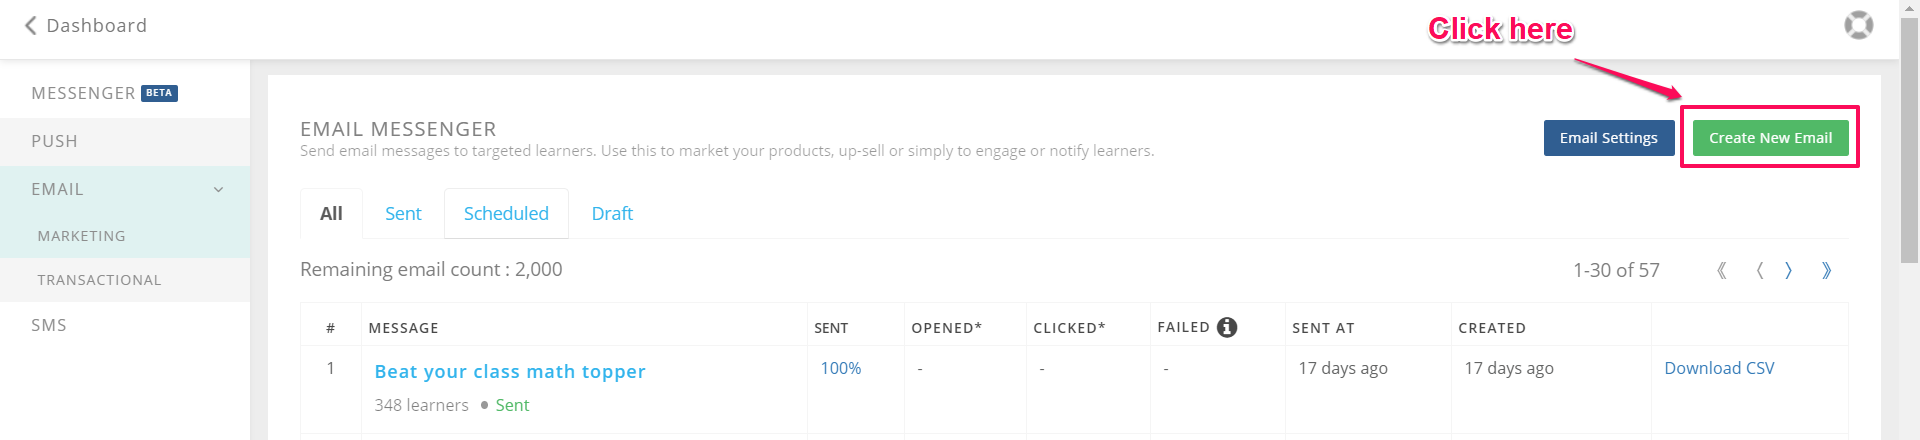
Once inside the email messenger, click on create new message


-
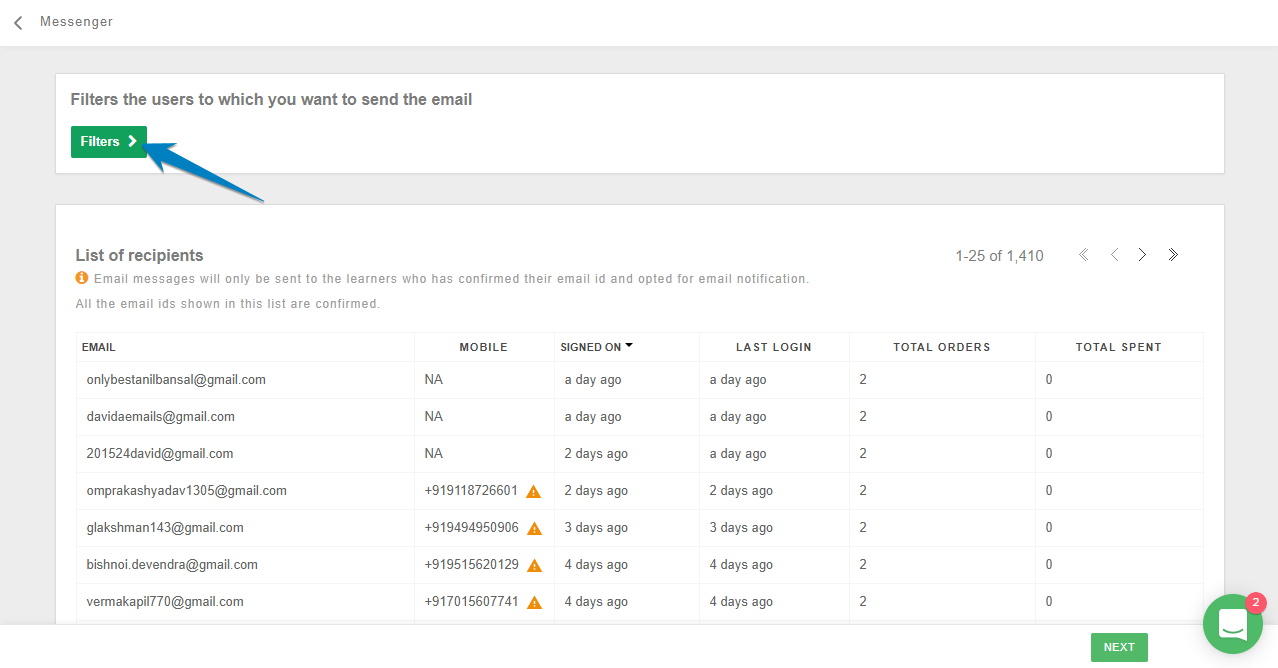
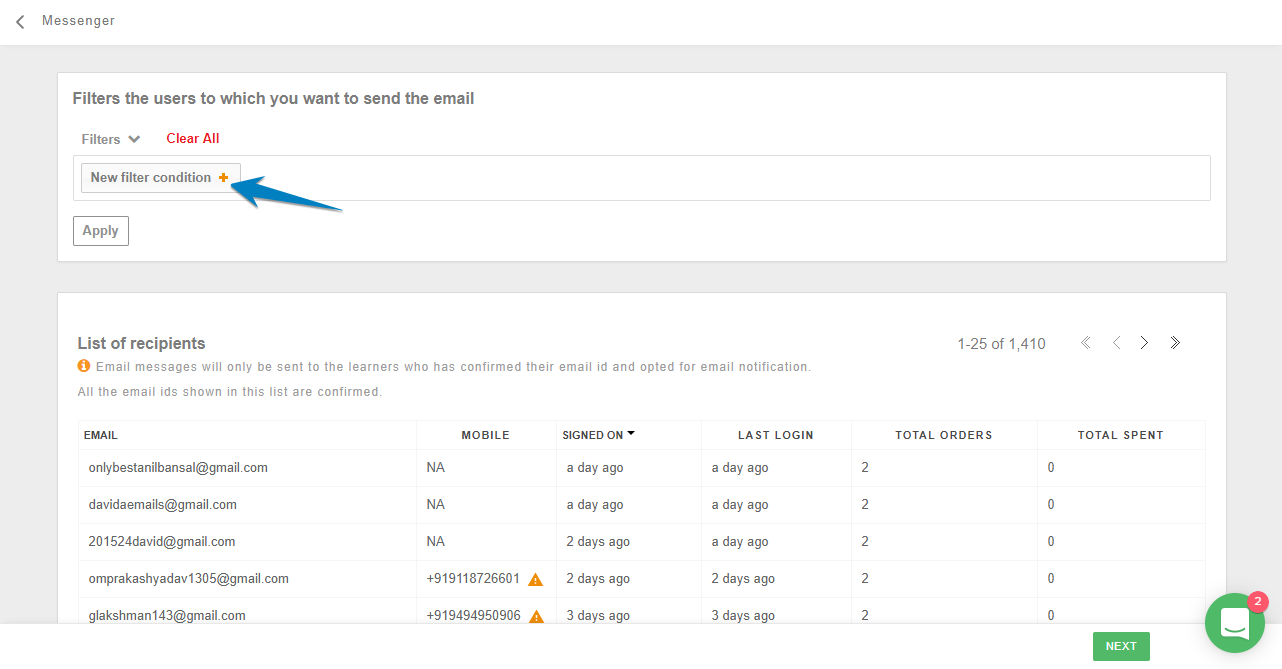
On the next page, you will see the clickable button "Filters"
-
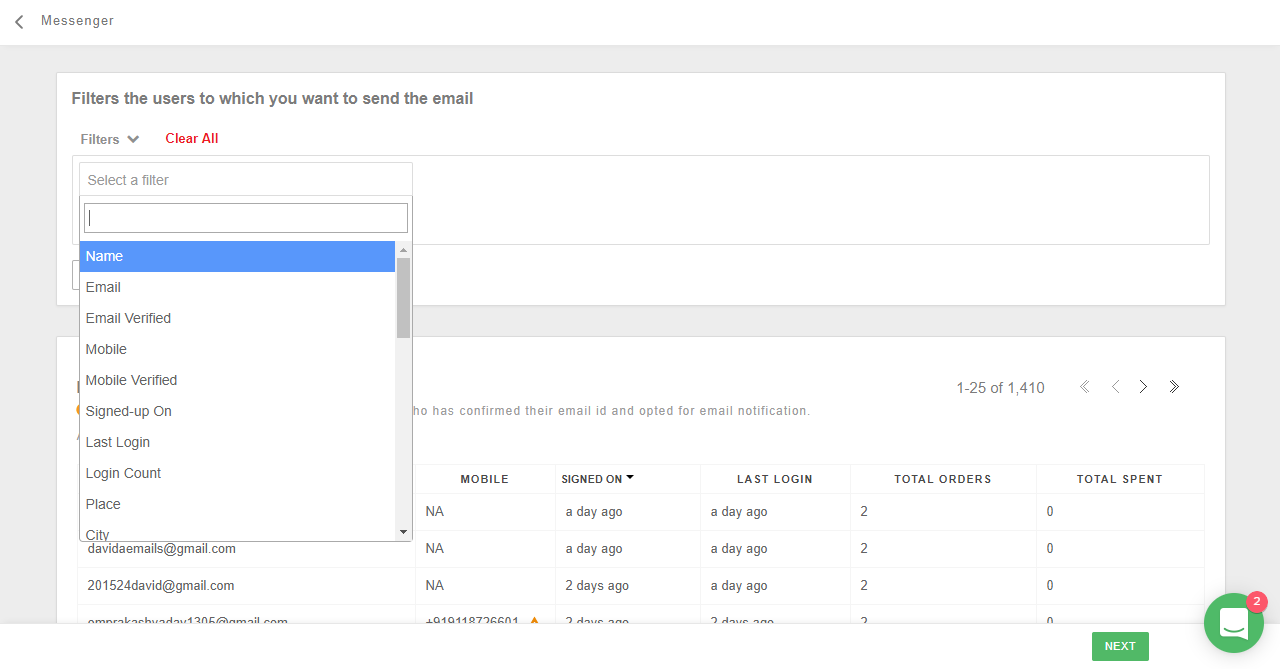
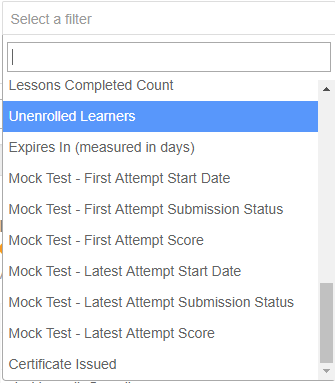
Once you click on Filters you will see the option to add New Filter Conditions. When you click on that, you will be able to see all the available filter conditions.
-
The presently available filters are:
-
Name: Filter learners based on their name
-
Email: Filter learners based on their email ID
-
Mobile: Filter learners based on their mobile number
-
Mobile verified: Filter learners based on the verification status of their mobile number
-
Signed up on Filter learners based on their sign up date
-
Last login: Filter learners based on the last day they logged in to your online institute
-
Login count: Filter learners based on the number of times they have logged in to your online institution
-
Place: Filter learners based on the place they belong to
-
City: Filter learners based on the city they live in
-
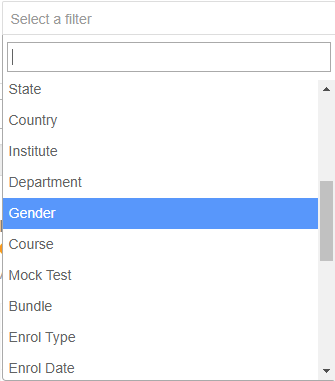
State: Filter learners based on the state they are from
-
Country: Filter learners based on the country of their residence
-
Institute: Filter learners based on the institute they are a student of
-
Department: Filter learners based on the department they are studying in
-
Gender: Filter learners based on their gender
-
Course: Filter learners based on the course they have bought
-
Mock Test: Filter learners based on the mock test that they have bought
-
Bundle: Filter learners based on the bundle that they have bought
-
Enrol Type: Filter learners based on their offline or online enrolment
-
Enrol Date: Filter learners based on their date of enrolment

-
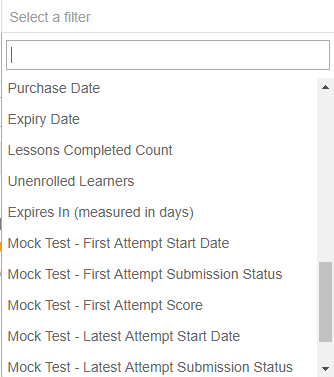
Purchase Date: Filter learners based on the day they purchased a course or mock test
-
Expiry Date: Filter learners based on the expiry date of the course or mock test
-
Lessons Completed Count: Filter learners based on who all to complete a certain number of lessons

-
Unenrolled Learners: Filter learners based on who hasn't signed up yet
-
Expires in: Filter learners based on the expiry date of their course or mock tests
-
Mock test - First Attempt Start Date: Filter learners based on the start date of the first attempt
-
Mock Test - First Attempt Submission Status: Filter learners based on the submission status
-
Mock Test - First Attempt Score: Filter learners based on their first
-
Mock Test - Latest Attempt Start Date: Filter learners based on the start date of the latest attempt
-
Mock Test - Latest Attempt Submission Status: Filter learners based on the submission status of the latest attempt
-
Mock Test - Latest Attempt Score: Filter learners based on the latest attempt score
-
Certificate Issued: Filter learners based on whether the certificate is issued or not
-
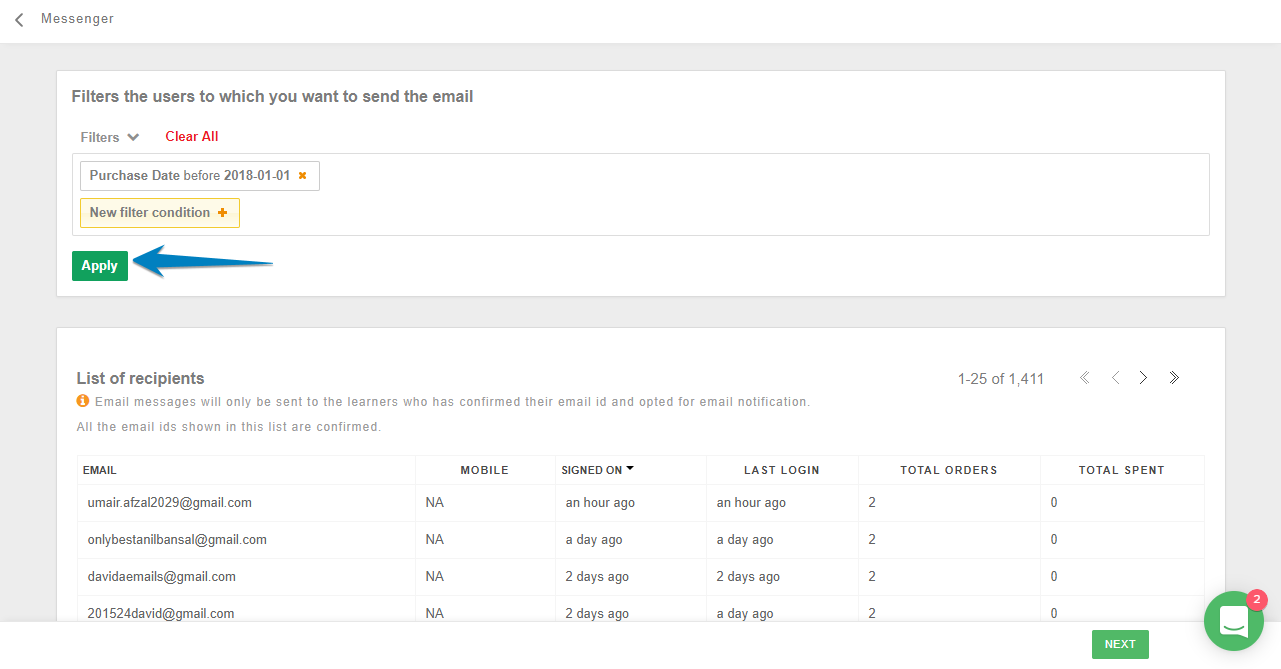
Based on the filter you choose, you can add additional filters. Once you add all the filters needed, you have to click on Add condition

-
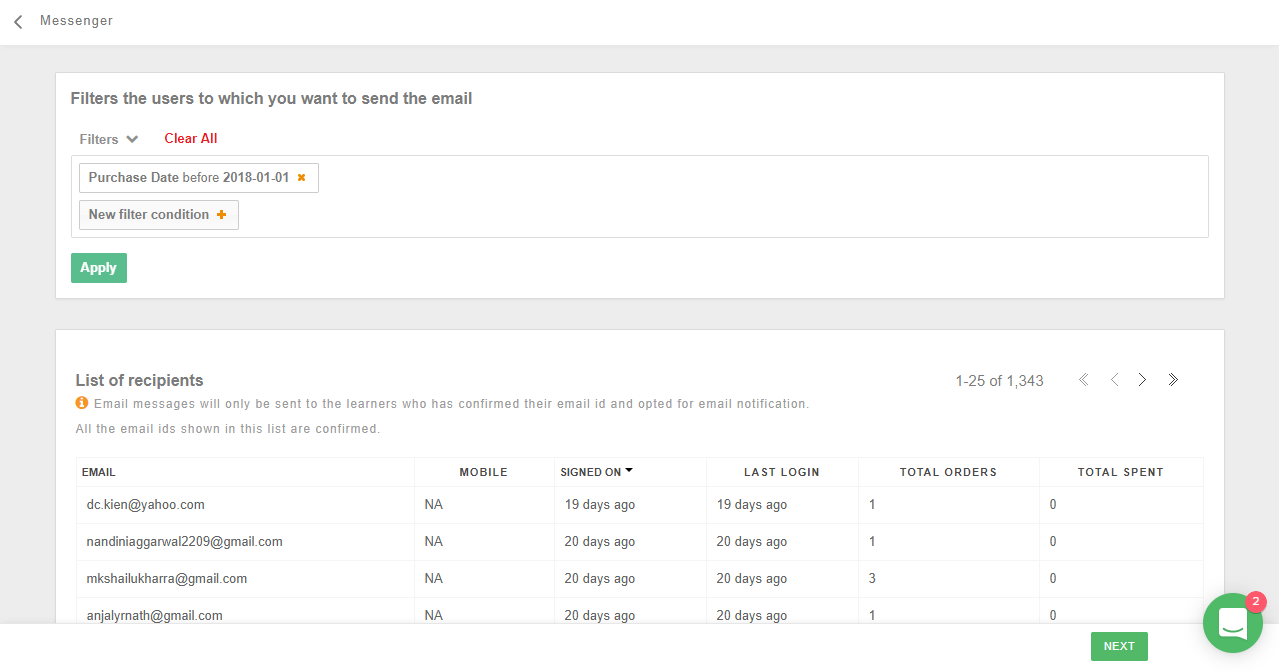
Next click on apply and you will see the specific list of learners
Conclusion
Hope this article helped you to use filters. Now use the power of push messages to send marketing emails to your student audience.
Did this answer your question? Thanks for the feedback There was a problem submitting your feedback. Please try again later.Yes No No results found