Want to translate your entire web/mobile app's display texts from English to a native/preferred language? Not a problem!
You can do this with the language editor feature in Learnyst.
In this article, I will show you access & use of the language editor.
In this article:
How To Access The Language Editor
-
To access the language editor, select Language from your admin panel > Websites & Apps tab.

-
Click on the Create button to start adding your language
.png?width=688&height=319&name=language%20(1).png)
Here, you will find 2 types of language options to pick from.
-
Supported languages - These are languages' that Learnyst will translate automatically for you.
Right now, we support only English.
-
Other languages - You can pick a language e.g: "Hindi" from the search bar and can manually translate the display text contents.
.png?width=688&height=319&name=language%20(2).png)
How To Translate Language Phrases
-
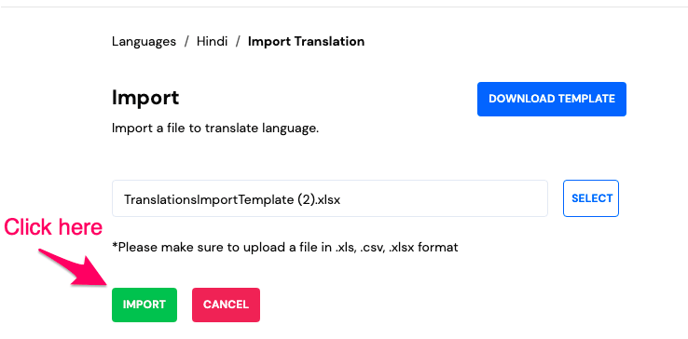
Select the import option to import texts fast.
.png?width=688&height=319&name=language%20(3).png)
-
Click on the download template option.
.png?width=688&height=319&name=language%20(4).png)
-
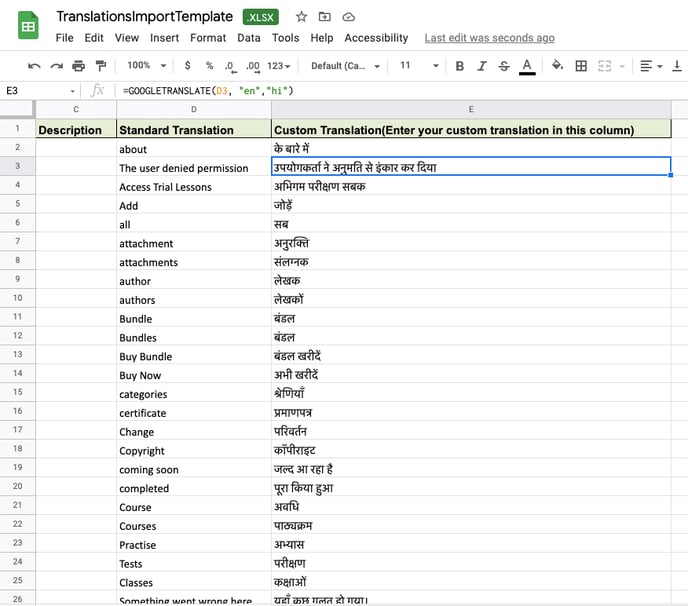
Open the Excel template & within the custom translation column E, enter the Google translate formula. To translate from English to Hindi, this is the formula.
-
You can translate any language by adding the correct source & target codes within " ". Here is the list of language codes that google supports.
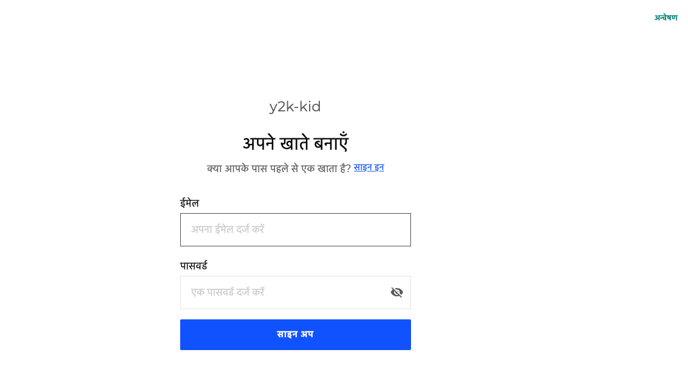
How Students Will View The Translated Display Text
Things To Know
Admin Side
-
As an admin, you can add and publish up to 5 languages at a time. This feature is available only in the premium plan.
Learner Side
-
Your learner will see the default translated language only when it is both published and Marked as Preferred from the admin side.
-
Learners can click on their accounts> Preferences> Change your preferred language option.
-
Learners can also switch between multiple languages you have added.
- Lastly, we will add new languages in the supported language section so that you can translate languages easily and faster.
- Hope this helped you to translate content into your native language. Check out our other collections here.


